


Why Your Shipping Strategy Matters
The Building Blocks: Understanding Shopify's Shipping Setup
Before we explore the details of setting up Shopify custom shipping rates, it’s important to understand the basic parts of Shopify’s shipping framework: Shipping Locations, Shipping Zones, and Shipping Profiles. Think of these as the organizational system for your shipping strategy.
My experience tells me that a solid understanding of these components saves a lot of headaches down the line. They are the keys to defining where you ship from, where you ship to, and what products go where.
Shipping Locations
Your shipping locations are the physical places where your products are stocked and shipped from. This could be your main warehouse, a dropshipper's facility, a retail store, or even your garage!
When you set up a location in Shopify, you're telling the system where inventory lives and from where online orders can be fulfilled. Different Shopify plans come with different limits on the number of shipping locations you can have:
- Shopify Lite: Supports 3 shipping locations.
- Basic Shopify: Supports 4 shipping locations.
- Shopify: Supports 5 shipping locations.
- Advanced Shopify: Supports 8 shipping locations.
- Shopify Plus: Supports 20 shipping locations.
To add a location, I simply go to Settings > Locations in my Shopify admin, click Add Location, fill in the details, and make sure to check 'Fulfill online orders from this location' if I plan to ship from there. This flexibility allows me to manage inventory and fulfillment efficiently, even if I have multiple warehouses or work with different suppliers.
Shipping Zones
Shipping zones are groups of countries or regions that share the same shipping rates. Instead of setting up individual rates for every single country, I can group them into zones. For instance, I might have a "Domestic" zone for my home country, an "North America" zone, and an "International" zone. This geographic targeting helps simplify my rate structure.
Within my Shopify admin, I steer to Settings > Shipping and delivery. Here, I can create or manage my shipping zones. It's a straightforward process: I name my zone, then select the specific countries or regions that belong to it. All countries within a shipping zone must share the same currency if I'm offering local currency rates.
Shipping Profiles
Shipping profiles are, in my opinion, one of the most powerful tools for managing Shopify custom shipping rates. They allow me to define specific shipping rules for certain products or groups of products, separate from my general shipping rates.
Every Shopify store automatically has a "General" shipping profile. This profile applies to all products that aren't assigned to a custom profile. For most businesses, this is where I'll set up my standard flat rates, weight-based rates, or calculated rates.
However, if I sell products that require special shipping considerations—perhaps oversized items, fragile goods, or items shipped directly from a dropshipper—I'll create a custom shipping profile for them. This means I can:
- Offer product-specific rates: For example, a heavy piece of furniture might have a higher shipping cost than a small accessory.
- Manage multi-location shipping: If some products ship from one warehouse and others from another, custom profiles help manage those distinct shipping costs.
I always recommend creating custom shipping profiles if I want to go for product-based shipping. This approach ensures that the right shipping costs are applied to the right products, preventing undercharging or overcharging.
How Shipping Profiles, Zones, and Locations Work Together
Let's put it all together to understand the workflow.
First, I define my Shipping Locations. These are my fulfillment centers. When an order comes in, Shopify knows where the items are located.
Next, I set up my Shipping Profiles. I'll have the "General" profile for most of my products. For any products that need unique shipping rules, I'll create a new, custom profile and assign those specific products to it.
Within each shipping profile, I create Shipping Zones. For instance, in my "General" profile, I might have a "USA" zone with one set of rates, and an "EU" zone with another. If I have a custom profile for "Oversized Items," I might set up different zones and rates for those items, or even restrict shipping to certain areas.
So, when a customer places an order, Shopify:
- Identifies the products in the cart and which shipping profiles they belong to.
- Determines the customer's shipping address and matches it to a defined shipping zone within each relevant profile.
- Calculates the applicable shipping rates based on the rules I've set up within those profiles and zones, considering the origin (my shipping locations).
This system allows for incredible flexibility in managing Shopify custom shipping rates. I can assign products to profiles, create zones for countries/regions, and define fulfillment from my locations. It’s a powerful way to manage the complexities of e-commerce shipping.
A Step-by-Step Guide to Basic Shopify Custom Shipping Rates
Now that we understand the foundational elements, let's get practical. Setting up basic Shopify custom shipping rates means moving around your Shopify admin and outlining the rules that control your shipping costs. A clear rate structure is vital—research from the Baymard Institute finds that surprise fees are a top reason shoppers abandon their carts.
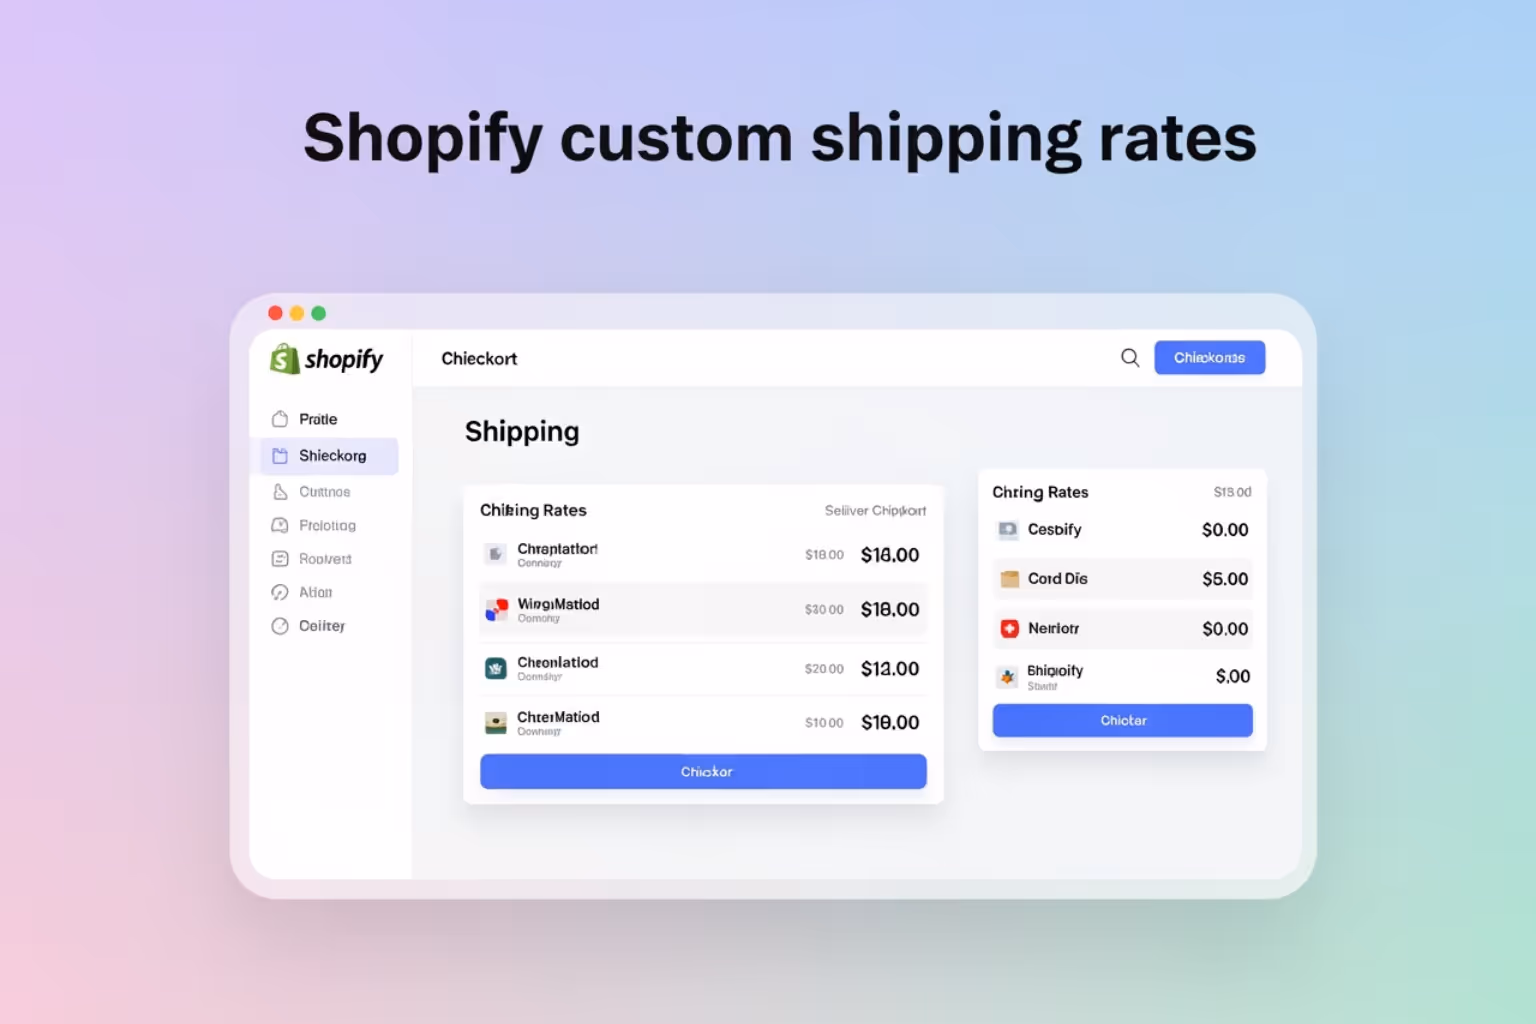
I always start by logging into my Shopify admin dashboard and heading to Settings > Shipping and delivery. This page is my command center for everything related to shipping.
Setting Up Flat Rates (Price-Based and Weight-Based)
Flat shipping rates are straightforward: they charge a specific, fixed amount for shipping at checkout. I can create them for any order within a shipping zone, or add conditions based on the order's weight or price.
- General Flat Rates: These are fixed costs regardless of the cart's contents. For example, a flat $5 for every order. I can also set two general flat rates, like $5 for regular shipping and $15 for expedited.
- Price-Based Rates: These rates vary based on the order's total value. For example, I might charge $10 for orders under $50, and $5 for orders over $50.
- Weight-Based Rates: These rates depend on the total weight of the order. I might charge $7 for orders under 5 kg, and $15 for orders over 5 kg.
Here’s how I set them up:
- In
Settings>Shipping and delivery, I click on the shipping profile I want to edit (usually "General"). - Next to the desired shipping zone, I click
Add rate. - I choose
Custom flat rate. - I enter a descriptive name for the rate (e.g., "Standard Shipping," "Heavy Item Shipping").
- I input the shipping rate.
- For price-based or weight-based conditions, I click
Add conditionsand define the minimum and maximum values. - I review the checkout preview to ensure it looks right, then click
DoneandSave.
If an order doesn't match any defined weight-based shipping rates, Shopify assigns it to the next higher available weight-based shipping rate. This is why thorough testing is so important!

Offering Free Shipping to Boost Sales
Free shipping is a powerful marketing tool. It reassures customers that they won't be hit with an unexpected fee, and it's a common tactic to boost conversions.
I can offer free shipping in a few ways:
- General Free Shipping: Simply set a flat rate to $0 for all orders within a zone.
- Conditional Free Shipping: This is where I use conditions. For instance, "Free shipping on orders over $50" or "Free shipping for orders over 10 kg."
To set up free shipping:
- I follow the same steps as setting up a flat rate, but I enter
0in the price field. - I can then add conditions based on order value (
price-based condition) or order weight (weight-based condition). - For specific products, I'd create a custom shipping profile for those items and then set up a free shipping rate within that profile.
- For specific customers, I'd typically use a discount code or draft order rather than a shipping rate itself.
Using Carrier-Calculated Shipping Rates
For many businesses—especially those with varying product sizes and weights—offering real-time, calculated shipping rates directly from carriers like USPS, UPS, or FedEx is essential. This ensures customers see the exact shipping cost based on their location and the items in their cart rather than an estimate.
To implement this, I need to:
- Enable Carrier-Calculated Shipping (CCS): This feature is usually part of higher-tier Shopify plans or can be added for a fee on lower plans. It's often a prerequisite for advanced shipping apps.
- Ensure Accurate Product Data: This is critical. I must input accurate product weights and dimensions for every product. Carriers use factors like shipping origin, destination, weight, value, dimensions, dimensional weight, and requested speed of delivery to determine costs.
- Set Up Package Sizes and Packing Rules: Shopify allows me to define common box sizes. This helps the system simulate how products will fit into boxes, leading to more accurate rate calculations.
I go to Settings > Shipping & Delivery > Manage Rates on the relevant shipping profile, click Add Rate, and select "Use carrier or app to determine tariffs." Then I choose the desired shipping service and save.
This method gives me very precise pricing, passing the exact cost of shipping directly to the customer.
Advanced Solutions for Complex Shipping Needs
While Shopify's native shipping settings are robust for many scenarios, my experience has shown that some businesses encounter complex shipping challenges that require more sophisticated solutions. This is where the limitations of the built-in features become apparent, and I start looking towards the Shopify App Store or specialized Shopify Plus features.
When to Use an App for Advanced Shopify Custom Shipping Rates
Shopify's default shipping rates can be limited, primarily based on item weight or order price. They often lack the flexibility for conditional free shipping based on specific products or quantity, and setting multiple tiers can be time-consuming.
My research and experience suggest that if I find myself needing to do any of the following, it's time to explore a third-party app:
- Postcode-Based Rates: I need to set shipping rates that vary by specific postcodes or zip codes within a country, beyond just provinces or states. The Postcode Shipping app, for instance, has helped thousands of Shopify stores with this. It boasts an 89% 5-star rating from 171 reviews.
- Product-Specific Rules Beyond Profiles: I need to apply complex rules based on product tags, types, stock levels, or even vendor. For example, charging different rates for frozen vs. non-frozen items, or heavy vs. normal products.
- Customer Group Rates: I want to offer different shipping rates to specific customer groups, like wholesale vs. retail customers, or VIP members. An app like Bespoke Shipping allows for rates based on customer tags.
- 4D Boxing and Stacking: For highly accurate live rates and cost optimization, especially with diverse product sizes, I might need an app that can virtually stack items into box sizes to estimate shipping costs before packing. Bespoke Shipping offers this capability, supporting negotiated live rates via 80+ carriers.
- Surcharge Shipping or Delivery Date-Based Shipping: If I need to add surcharges for specific conditions (e.g., Highland/Mainland delivery) or adjust rates based on delivery date (e.g., higher rates for Sunday delivery).
- Vendor-Based or SKU-Based Shipping: My products come from multiple vendors, and I need to apply shipping rules specific to each vendor or even individual SKUs.
Apps like Bespoke Shipping or Postcode Shipping are designed to fill these gaps, providing advanced macro editors for complex rules and highly customizable conditions. They can significantly reduce cart abandonment and boost customer satisfaction by ensuring accurate and transparent shipping costs, even in the most intricate scenarios.
Using Shopify Scripts to Customize Your Shopify Custom Shipping Rates (Shopify Plus)
For Shopify Plus users, Shopify Scripts offer an incredibly powerful way to customize shipping rate behavior directly at checkout. While the Script Editor has been deprecated for new stores, existing Plus stores can still use this feature.
Shopify Scripts are written in Ruby and interact with shipping rates in real-time, allowing me to:
- Hide Rates: I can set rules to hide certain shipping rates based on conditions like customer location (zip code, province, country), specific products in the cart, or even if the shipping address is a PO box. For example, I could hide express shipping for PO box deliveries.
- Show Rates: Conversely, I can show specific rates only to certain customers, perhaps those with a "VIP" customer tag, or for a particular zip code.
- Reorder Rates: I can change the display order of shipping rates at checkout, ensuring customers see the most relevant or preferred options first.
- Discount Rates: I can apply discounts directly to shipping rates, either based on a discount code entered at checkout or by customer tags. For example, offering a 10% shipping discount for customers using a specific promo code or for my "Wholesale" customer group.
- Add Messages to Rate Names: I can append custom messages to shipping rate names for specific provinces or countries, such as "Due to holiday volume, expect delays."
- Prioritize Carrier-Calculated Rates: I can ensure that only carrier-calculated rates are displayed, with manual rates acting as a fallback if no carrier rates are available.
To use Shopify Scripts, I access the Script Editor app (available in Shopify Plus). I can create a new shipping rate script, paste in Ruby code, and customize its settings. After testing, I save and publish the script. It's a technical but highly flexible solution for very specific shipping rate behaviors.
Frequently Asked Questions
I often hear questions about specific Shopify custom shipping rates scenarios. It's great to ask! Here are some common ones I encounter:
How do I offer free shipping for specific products only?
Want to offer free shipping just for certain items? No problem! You'll primarily use Shopify's shipping profiles to make this happen.
First, you'll create a custom shipping profile. Think of this as a special rulebook just for these products. Give it a clear name, like "Free Shipping Products," so you know exactly what it's for.
Next, you need to assign your products to this new profile. Go into your product settings and move all the items you want to offer free shipping on into your "Free Shipping Products" profile. Any products you don't move will stay in your general shipping profile or other custom ones.
Finally, within your new "Free Shipping Products" profile, you'll create a free shipping rate. Just set the cost to $0 for your chosen shipping zones. Unless you want to add conditions (like "free shipping only if they spend over $X on these specific products"), you can leave it as a straightforward $0 rate.
This way, when a customer buys only items from your "Free Shipping Products" profile, they'll see that wonderful free shipping option. If they mix these with products from other profiles, Shopify will intelligently combine the rates from all relevant profiles.
Can I set different shipping rates for wholesale and retail customers?
Yes, absolutely! This is a very common request for businesses with different customer types. It's definitely achievable, though it usually means going beyond Shopify's most basic settings.
The most common way to start is by using customer tags. You can add a tag to your wholesale customers (for example, "Wholesale Buyer") and a different tag for your retail customers ("Retail Buyer"). These tags then become the key to opening up different shipping rules.
For example, many third-party apps from the Shopify App Store are designed for this exact purpose. Apps like Bespoke Shipping or Calcurates let you set up special shipping rules based on those customer tags. This means you can create rates that only appear for customers tagged "Wholesale Buyer," and completely different rates for those tagged "Retail Buyer." These apps give you a lot of flexibility to build detailed shipping rules for your different customer groups.
If you're on Shopify Plus, you have an extra powerful tool: Shopify Scripts. You can write a small piece of code (a Ruby script) that checks for specific customer tags at checkout. This script can then show or hide certain shipping rates, or even apply discounts to shipping rates, just for those tagged customers. It's a technical but very powerful option for fine-tuning your shipping logic.
Since Shopify doesn't have a built-in feature for "customer group" shipping rates, I always recommend exploring these app solutions or Shopify Scripts for this level of customization.
What happens if an order doesn't match my weight-based rates?
This is a really important question, and it can sometimes surprise store owners. Shopify has a specific way of handling orders that don't quite fit into your defined weight ranges.
If a customer's order weight doesn't land perfectly within one of the weight ranges you've set for your shipping rates, Shopify won't just stop the checkout or show an error. Instead, it will automatically assign the order to the next higher available weight-based shipping rate.
Let me give you an example to make this clear:
Imagine you have these weight-based rates set up:
- 0 - 1 kg: $5
- 1 - 5 kg: $10
- 5 - 10 kg: $20
Now, if a customer's order weighs 2 kg, it would easily get the $10 rate. But what if an order weighs, say, 0.5 kg? If your only rates start at 1 kg and up, Shopify would then apply the 1 - 5 kg rate ($10) because it's the "next higher available" rate in your setup.
This behavior shows why two things are incredibly important:
- Complete Weight Ranges: Always make sure your weight ranges cover every possible order weight. Think about your lightest single item all the way up to the heaviest possible combination a customer might order.
- Thorough Testing: I can't stress this enough! Always place test orders with different product combinations and weights. This lets you double-check that the correct Shopify custom shipping rates are showing up at checkout. Doing this prevents you from accidentally overcharging your customers or, even worse, undercharging yourself and losing money on shipping costs.
To Sum Up: Creating a Winning Shipping Strategy
Getting your Shopify custom shipping rates right is a big deal for any online store. It's not just about getting packages to customers; it's about making your business more profitable, keeping buyers happy, and helping your sales grow.
We've talked about the main parts of Shopify's shipping setup: your locations (where products are stored), zones (where you ship to), and profiles (how you group products for shipping rules). We also went through how to set up basic flat rates, free shipping options, and even real-time calculated rates right in Shopify. Plus, we explored when it makes sense to bring in outside apps for trickier situations, like shipping based on zip codes or offering special prices to certain customer groups. For those on Shopify Plus, we looked at how scripts can give you even more control.
The big idea here is finding the right balance. You want shipping costs that are fair and attractive to your customers, but they also need to cover your actual expenses. It's like a little dance, but with Shopify's tools and a little help from specialized apps when you need them, you can totally figure it out.
Always, always test your shipping setup. Place practice orders with different items and addresses. Make sure the rates show up correctly and that buying from your store feels easy and clear for your customers.
If your shipping needs start to feel too complicated, or if you just want to be sure you're doing things the best way, getting some expert help can make a huge difference. Our team at First Pier knows a lot about Shopify. We're here to help businesses build great online stores that really work. You can explore more about Ecommerce Shipping Optimization Strategies or Get expert help with your Shopify Development.


.png)
.png)
