Why the Meta Pixel is Essential for Shopify Success
Shopify Facebook pixel installation is a powerful way to turn visitors into customers with targeted ads. The Meta Pixel (formerly Facebook Pixel) tracks visitor behavior on your Shopify store and sends this data to Facebook. This lets you create targeted ads, retarget customers, and accurately measure your ad effectiveness.
Quick Setup Guide:
- Create your pixel in Facebook Events Manager
- Install the Facebook & Instagram sales channel in your Shopify admin
- Connect your Facebook account and select your pixel
- Enable maximum data sharing for best results
- Test your setup using the Meta Pixel Helper extension
The pixel tracks key customer actions like page views, add-to-cart events, and purchases. This data is incredibly valuable for retargeting. Research shows that retargeting has an efficiency rate of 1,046%, performing much better than other ad strategies. A proper installation lets you create custom audiences, run dynamic product ads, and build lookalike audiences from your best customers.
Unlike manual code installation, Shopify's native integration includes server-side tracking through the Conversions API. This is key because of Apple's iOS privacy changes, which make browser tracking harder. The native integration helps you get the most conversion data while following privacy rules.
I'm Steve Pogson, and over two decades of scaling Shopify stores, I've seen how a proper Shopify Facebook pixel installation can change ad performance and lead to real growth. Through First Pier, we've used pixel strategies to help brands like Wyman's Blueberries and Hyperlite Mountain Gear get the most from their ad spending and build better customer relationships.
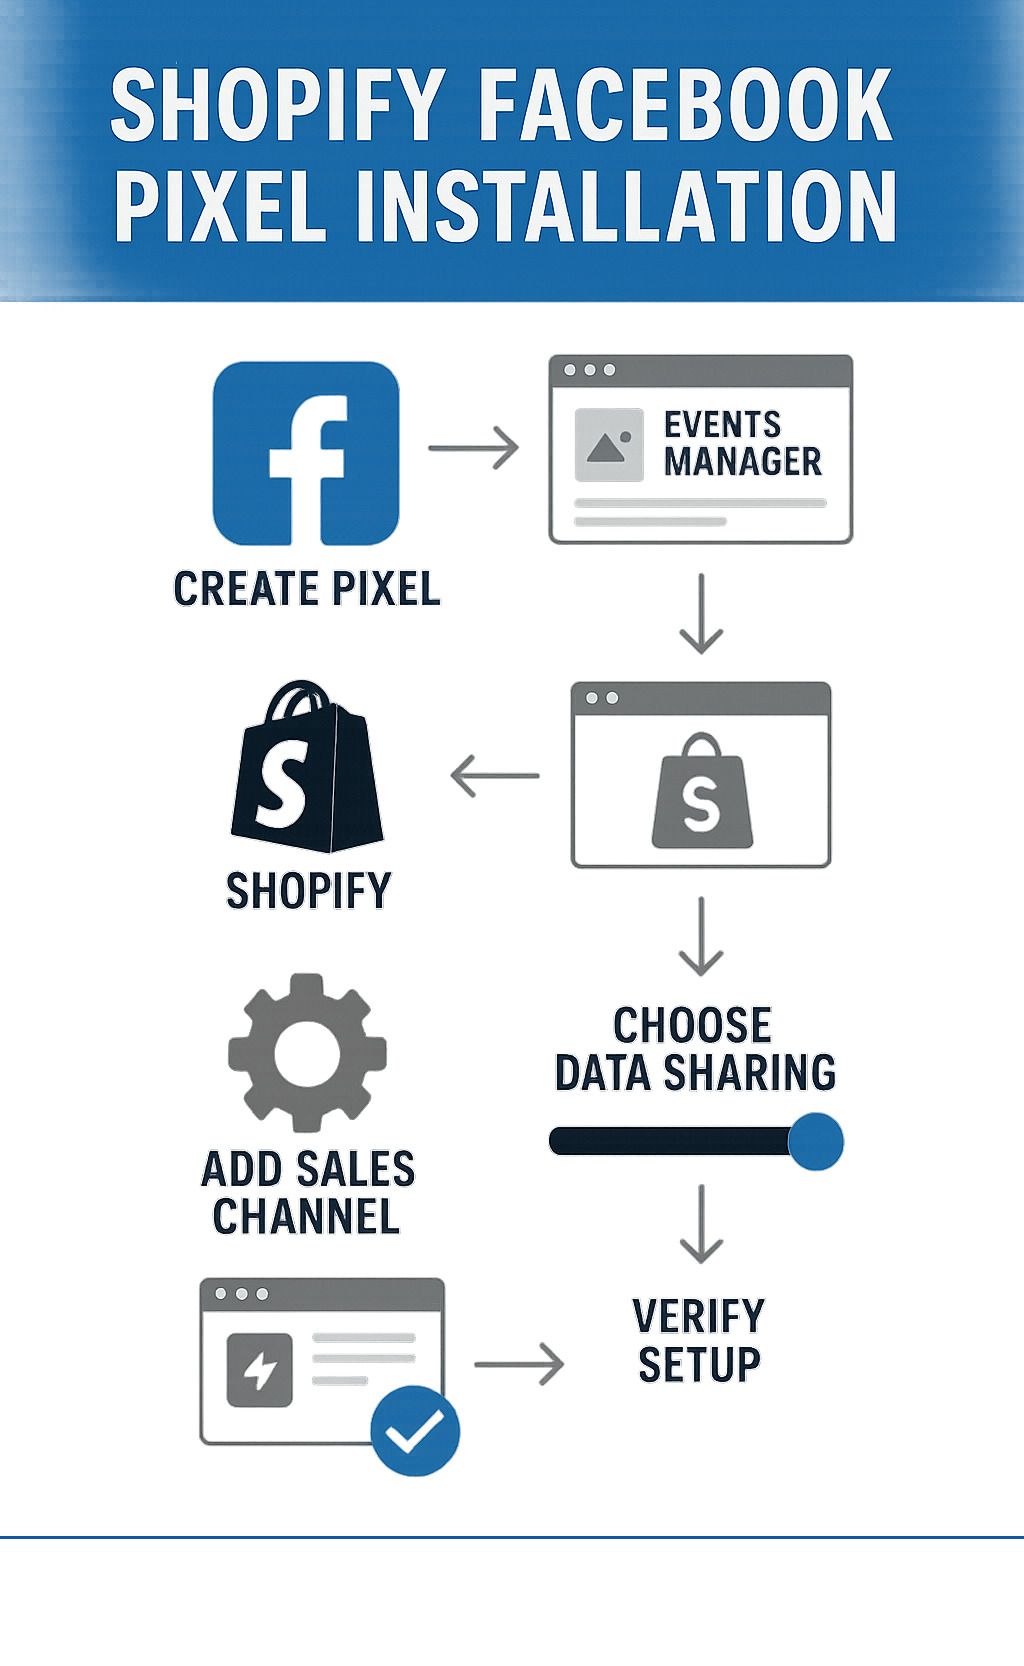
Shopify Facebook pixel installation terms made easy:
- E-commerce website development services
- Shopify and Klaviyo integration
- Shopify email marketing automation
Getting Started: Creating Your Pixel and Finding Your ID
Before you can use the Meta Pixel, you need to set it up. The Meta Pixel acts like a detective for your store, watching how people interact with it. This tool, formerly the Facebook Pixel, is a small piece of code on your Shopify store that helps you track visitor actions and understand their behavior. It tracks what visitors do after seeing your ads on Facebook or Instagram, showing you which ads are effective. This data tells a story about your visitors' preferences and their experience on your site.
The benefits of installing the Meta Pixel are impressive. It lets you improve ad targeting, boost retargeting, and connect with audiences who have visited specific pages or taken action on your site. For example, you can retarget users with ads for the exact products they viewed. You can also remind users who added items to their cart but didn't buy. This is a game-changer for boosting conversions.
There are two main ways to install the Meta Pixel on Shopify:
- Shopify's Native Integration: This is the easiest and most recommended method because it simplifies setup and includes server-side tracking via the Conversions API.
- Manual Installation: This involves pasting code into your theme files. It offers more control but is more complex, can have errors, and might not include the Conversions API.
This guide will focus on the native integration, as it's the most effective solution for most merchants, offering a simple setup with strong features.
How to Create Your Meta Pixel
First, create your Meta Pixel in Facebook Business Manager. If you don't have a Business Manager account, you'll need to set one up.
- Go to your Events Manager dashboard: This is your data control center. Find it by logging into Facebook Business Manager and going to 'Events Manager'.
- Connect Data Sources: Click the green plus icon or 'Connect Data Sources' and select 'Web'.
- Choose Facebook Pixel: Choose 'Facebook Pixel' and click 'Connect'.
- Name your pixel: Name your pixel clearly, including your store's name, so you can easily find it.
- Enter your store URL: Provide your Shopify store's URL. This helps Facebook find easy setup options with Shopify.
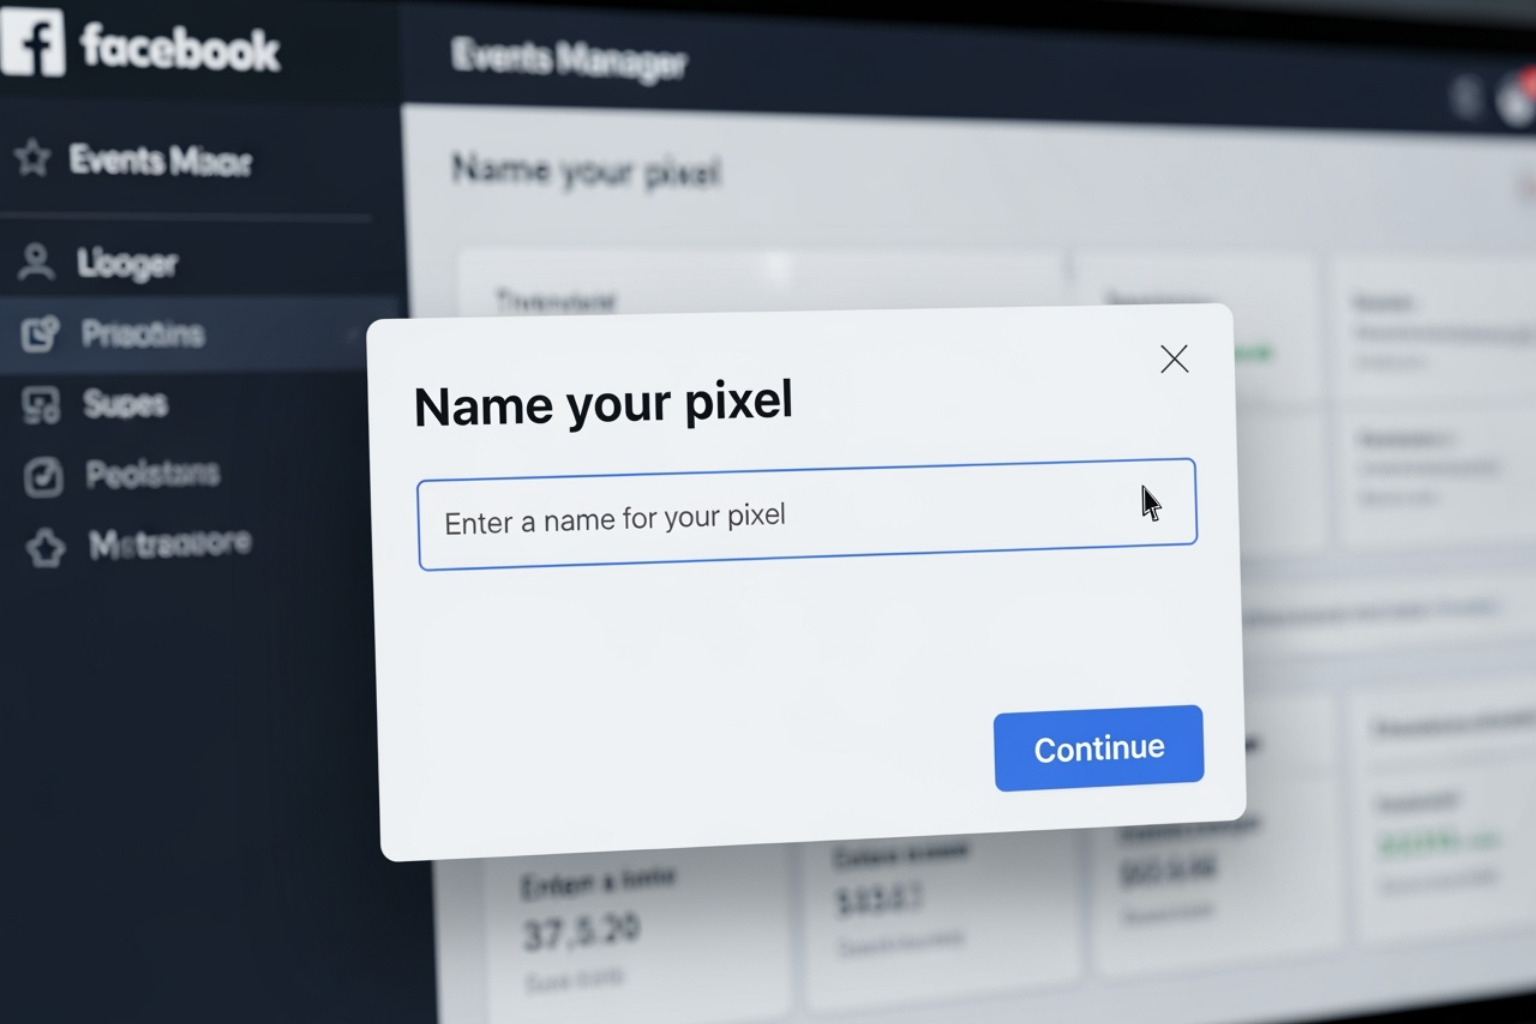
This creates the pixel. You can also create one in Facebook Ads Manager. For a detailed guide, you can check out Facebook's guide to creating a pixel in Facebook Ads Manager.
How to Find Your Meta Pixel ID
After creating your pixel, you'll need its unique ID to connect it to Shopify.
- Go to your Events Manager dashboard: This is where your pixel information is stored.
- Select the Data Sources tab: In the left 'Data Sources' panel, select the pixel you created.
- Locate your Pixel ID: Your Pixel ID is a long string of numbers at the top of the overview page, labeled 'Pixel ID' or 'Data Set ID'.
- Copy the ID: Copy this ID accurately for the next steps in your Shopify Facebook pixel installation.
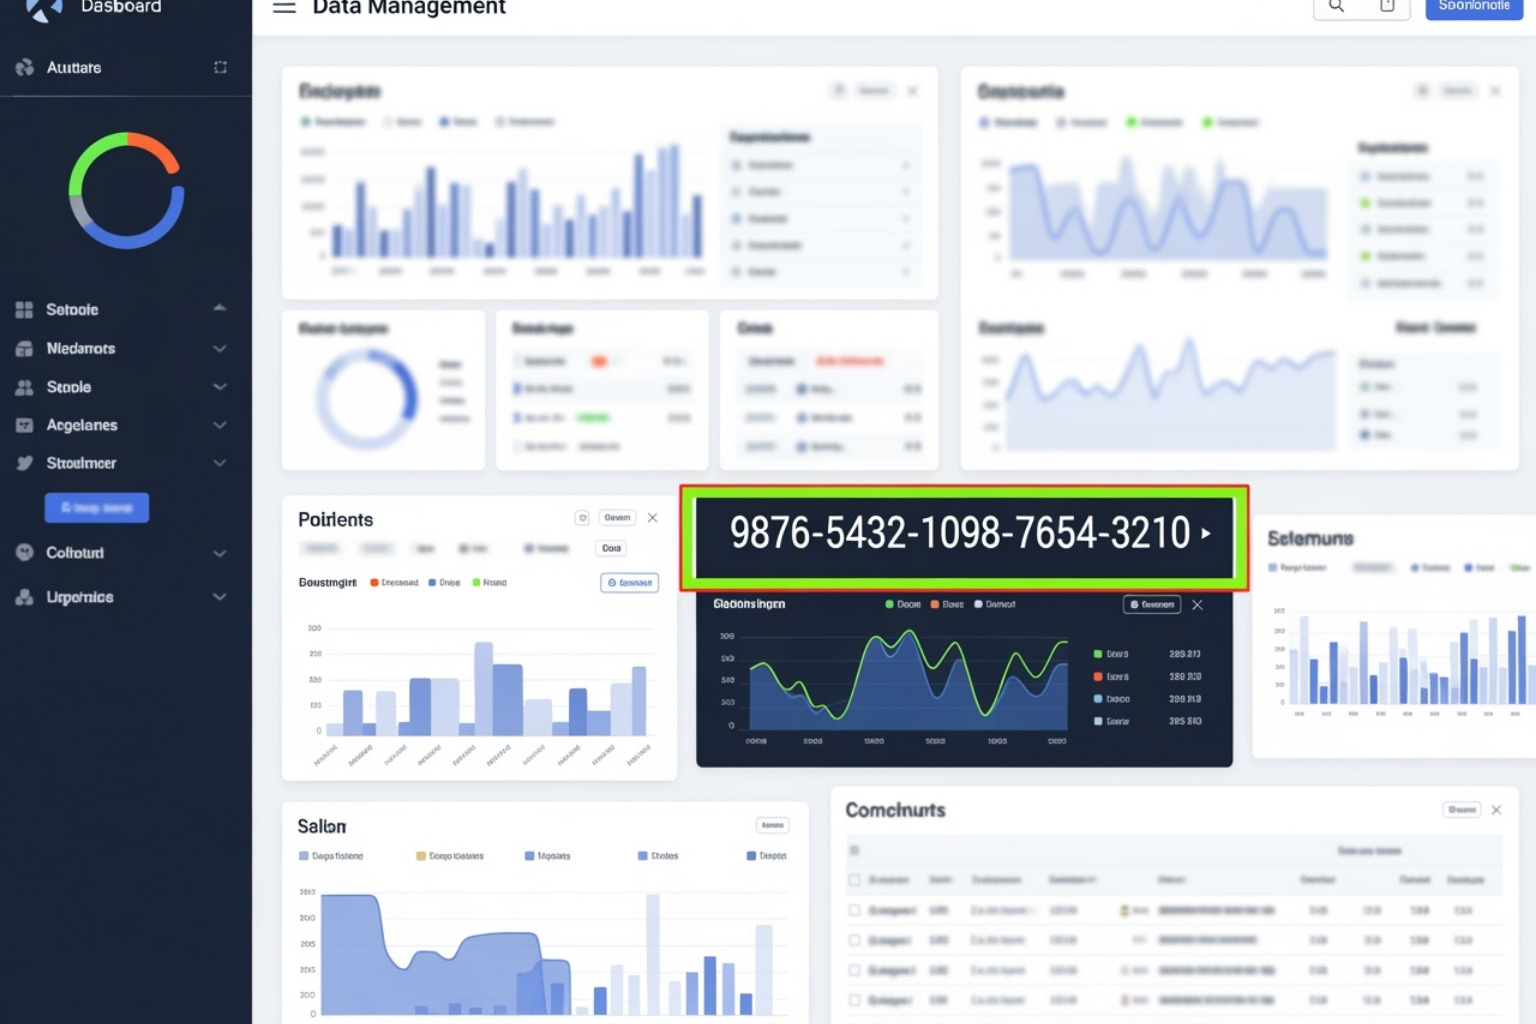
This ID is unique and lets Facebook connect data from your store to your ad account.
The Easiest Shopify Facebook Pixel Installation: Using the Native Integration
The easiest way to install the Meta Pixel is with Shopify's built-in Facebook & Instagram sales channel. This method is recommended because it sets up both the browser pixel and server-side tracking (Conversions API). This two-layer approach is key for accurate data collection with growing privacy rules.
Shopify’s native integration is the best option for most merchants. It simplifies setup and makes sure you get strong performance. Unlike third-party apps, this integration tracks checkout steps, giving you better insight into the buying process. It also includes server-side tracking, so you don't need to do manual setups.
Step-by-Step Guide for Shopify Facebook pixel installation
Here are the steps to connect your store and pixel using the native integration.
- Log in to your Shopify Admin: This is your store's backend.
- Go to 'Apps and sales channels': In the left-hand menu, find and click on 'Apps and sales channels'.
- Add the 'Facebook & Instagram' sales channel: If you haven't already, add this channel. Click 'Add sales channel', search for 'Facebook & Instagram', and install it.
- Open the sales channel: Once installed, click on 'Facebook & Instagram' from your list of sales channels.
- Start the setup process: Click 'Get started' to begin connecting your Facebook account.
- Connect your Facebook account: It will ask you to log in and give Shopify the necessary permissions. Connect the Facebook account linked to your Business Manager and the pixel you created.
- Connect your Business Manager and Ad Account: Select the correct Facebook Business Manager and Ad Account for your store.
- Set up data sharing settings: This is a key step. Click 'Settings', then 'Share data settings'.
- Enable data sharing: Toggle the 'Enable data-sharing' option to on.
- Choose your data-sharing level: You'll see options like Standard, Improved, or Maximum. I recommend selecting 'Maximum' for the most complete data collection, which I'll explain next.
- Select your pixel: From the dropdown menu, choose the Meta Pixel ID you created earlier.
- Confirm connection: Review the settings and confirm.
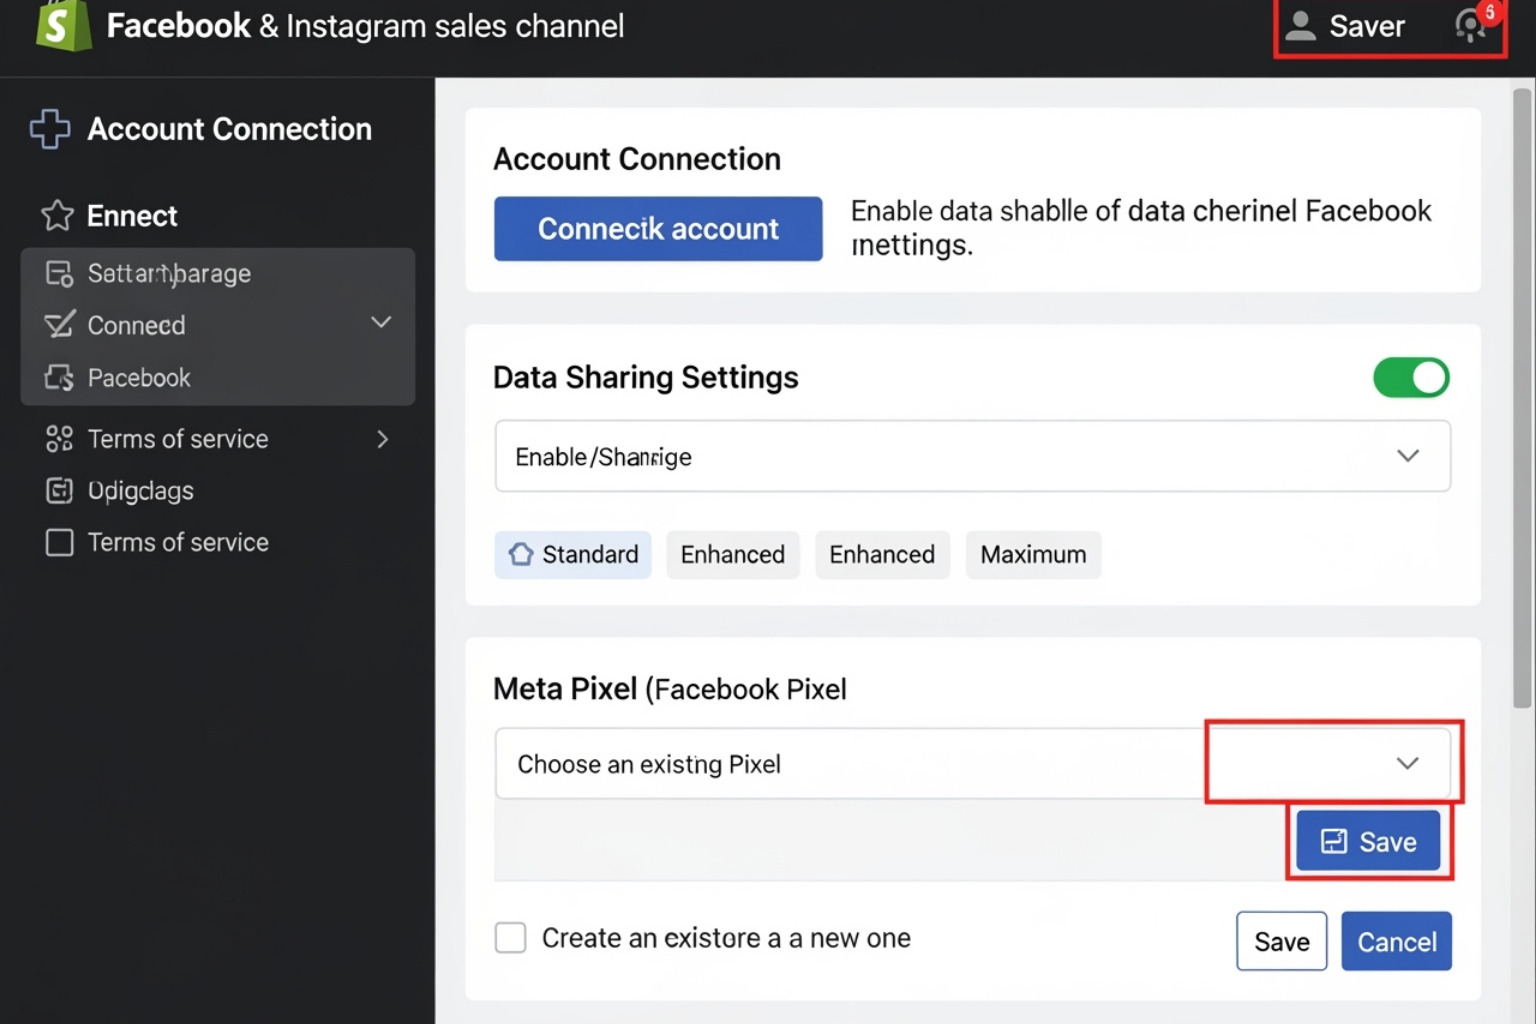
Once connected, Shopify installs the pixel across your store. It tracks standard events (PageView, AddToCart, Purchase) and adds the Conversions API for server-side tracking. You won't need to add code to the checkout page; the integration handles it, making sure purchase tracking is accurate.
Choosing Your Data Sharing Level
When connecting your pixel, you'll choose a data-sharing level. This controls how much customer information is sent to Facebook with event data.
- Standard: Sends basic behavior data like page views and product interactions.
- Improved: Sends more customer info (name, location, email), hashed for privacy, to help Facebook match visitors to profiles.
- Maximum: This is the most complete level. It sends the most customer info for the best event matching and audience building.
I always recommend 'Maximum' for the best results. More data helps Facebook improve your ad campaigns. This is important due to iOS 14 and other privacy updates, as strong data sharing helps reduce the impact of limited browser tracking. While GDPR requires consent, choosing maximum data sharing (with consent) helps Facebook's algorithms work better.
To learn how complete data sharing affects your campaigns, you can find more info about ecommerce analytics. Shopify also offers a detailed explanation of their data sharing settings.
Verifying and Troubleshooting Your Pixel Setup
After your Shopify Facebook pixel installation, you need to check that it's working. Your pixel is only useful if it tracks visitor behavior and sends data to Facebook. Many store owners think their pixel is working when it's not, missing out on retargeting and conversion data.
The good news is that testing is simple, and most issues are easy to fix. Let's walk through how to check your setup and fix any problems.
How to Test if Your Pixel is Working Correctly
There are two dependable ways to check your pixel. I recommend using both for a full picture.
The Meta Pixel Helper Chrome Extension is your first tool for quick checks. If you haven't installed it, add the 'Meta Pixel Helper' extension from the Chrome Web Store. Once installed, visit your live Shopify store and click the extension icon (< />).
The extension shows which pixels it found and which events fired. Green checkmarks mean everything is working. You should see a PageView event on every page, ViewContent on product pages, and AddToCart when you add items to your cart.

The Test Events Tool in Facebook Events Manager gives a more detailed, real-time view. Go to Facebook Events Manager, select your pixel, and click the Test Events tab. Enter your Shopify store URL in the 'Test Browser Events' section and click 'Open Website'.
Now, act like a customer. Browse your store, view products, and add items to your cart. You should see these events appear in real-time in the Test Events tab. This shows your pixel is tracking behavior and sending data to Facebook.
Common Issues and How to Fix Them
Even with the native integration, problems can happen. Here are common issues and their fixes.
Duplicate events happen if your pixel fires twice. This is usually because you have multiple pixel codes (e.g., a manual install and the native integration). The fix is to remove any manual code from your theme files.
To fix this, go to Online Store > Themes in your Shopify Admin. Click the three dots on your live theme and choose Edit code. Open theme.liquid and search for Meta pixel code (starts with <!-- Facebook Pixel Code --> or has fbq('init', 'YOUR_PIXEL_ID')). Carefully delete this code and save.
No pixel activity at all means it's likely not connected correctly in Shopify. Double-check your integration steps, especially that you chose the right pixel ID. Disconnecting and reconnecting the sales channel can also fix it.
A low event match rate is common due to privacy changes. It means Facebook can't match visitors to profiles. The main fix is to select Maximum data sharing in your settings. This sends more hashed customer info to Facebook, making matching better.
Apple's App Tracking Transparency Framework (ATT) has a big effect on browser tracking. This is why Shopify's automatic Conversions API is key. It works on the server, sending data directly to Facebook and getting around browser restrictions.
If you still have ongoing issues, it might be time to talk to experts who focus on Shopify development. Difficult problems sometimes need a deeper look at your store's setup. More info about Shopify development can help make sure your store is set up for accurate data collection.
Putting Your Pixel Data to Work
Installing the Meta Pixel is just the first step. The real magic happens when you use the data it collects to make smarter advertising decisions. This is where you turn raw information into insights that drive sales.
The Power of Retargeting and Custom Audiences
One of the most effective ways to use pixel data is for retargeting and creating custom audiences.
Retargeting: If a potential customer visits your store but leaves without buying, you can show them targeted ads on Facebook and Instagram. This is effective because they've already shown interest. Common retargeting audiences include abandoned carts, product viewers, and past purchasers.
Custom & Lookalike Audiences: You can build Custom Audiences from people who took specific actions on your site. From there, Facebook can create Lookalike Audiences—new people who are similar to your best customers. This is a great way to find new potential buyers.
Using these strategies can greatly improve your ad performance. For more detailed strategies, you can find more info about paid social advertising. This approach lets you create dynamic ads that automatically show relevant products to users based on their browsing history, further boosting the chance of a conversion.
Understanding Standard Events for a Shopify Facebook pixel installation
The pixel tracks specific actions called standard events. These are key for understanding user behavior and improving ads. When you complete a Shopify Facebook pixel installation with the native integration, these events are tracked automatically.
Important events include:
- PageView: Fires when a page loads.
- ViewContent: Fires when a product page is viewed.
- AddToCart: Fires when an item is added to the cart.
- InitiateCheckout: Fires when checkout starts.
- Purchase: Fires when a sale is completed, including the purchase value.
A full list of events tracked by the Meta pixel can be found here.
You can also set up custom events for unique actions on your site, though this may require a more advanced setup.
How iOS Privacy Changes (like ATT) Affect Meta Pixel Tracking on Shopify, and What Are the Solutions?
Apple's App Tracking Transparency (ATT) framework has changed digital advertising. It limits how apps like Facebook can track users across different websites and apps, which affects pixel data from iOS devices. Since many mobile users are on iOS, this is a big challenge for advertisers.
Solutions to reduce the impact:
The Facebook Conversions API (CAPI): This is the main solution. It sends data from your server directly to Facebook, getting around browser limits. Shopify's native integration sets this up for you automatically. It's a key tool for accurate data after iOS 14 and with upcoming changes to Google Chrome's cookies.
Aggregated Event Measurement (AEM): Facebook's Aggregated Event Management lets you prioritize and track up to 8 key events per session. Shopify's integration helps manage this.
By using both the Meta Pixel and the Conversions API, you create a stronger tracking setup that can better handle privacy changes.
How can I make sure my Meta Pixel setup is compliant with privacy regulations?
Following privacy rules like GDPR and CCPA is a legal requirement.
Get Consent: Use a clear cookie banner to get user consent before tracking, as required by laws like the EU's GDPR. Pixels only run for marketing and analytics after a visitor gives consent in markets where you have set up consent to be required.
Have a Clear Privacy Policy: Your policy should explain what data you collect, why, and how users can control their data.
Check Data Sharing: Make sure your data sharing level in Shopify matches the consent you've received.
Regular Reviews: Regularly check your setup to stay compliant with changing laws.
Are there any third-party apps that can help with Meta Pixel integration on Shopify?
Yes, third-party apps on the Shopify App Store can help with pixel integration, sometimes offering more advanced features. They can provide solutions for server-side tracking, advanced event setups, and multi-pixel needs.
However, I recommend starting with Shopify's native integration. It's the best option for most merchants, providing a strong foundation with the key Conversions API without extra costs or app conflicts.
For Shopify Plus merchants or those with very specific tracking needs, a third-party app might offer more customization. But for most, the native integration is enough and works better with Shopify's core functions, especially for checkout events.
To Sum Up: Making Your Pixel Work for You
A correct Shopify Facebook pixel installation isn't just a technical task; it's the foundation for smarter advertising. This small piece of code makes a big difference in reaching and converting customers.
Think of the Meta Pixel as a silent partner, always working to collect information for better marketing decisions. It notes when someone views a product, adds to cart, or buys, building a picture of customer behavior.
Shopify's native integration is definitely the smartest approach. It's easy to set up and includes the Conversions API, which protects you from iOS privacy changes and browser limits. This two-layer tracking gives you a complete picture of customer actions, even when tracking faces problems.
Never skip testing. Many store owners assume their pixel works, only to find they've been missing key conversion data. Use the Meta Pixel Helper and Facebook's Test Events tool. A few minutes of testing can save you from weeks of bad advertising.
The real magic is using your pixel data. Abandoned carts are a great source for retargeting. Product viewers are perfect for dynamic ads. Your best customers are the base for building lookalike audiences to find new shoppers.
Following privacy rules is necessary. It builds trust and keeps you compliant with laws like GDPR. Use clear consent banners, have a transparent privacy policy, and make sure your data sharing settings match the permissions you've received.
The ad world is changing, but Shopify's native integration prepares you for it. The Conversions API makes sure you keep accurate tracking despite browser restrictions.
Your pixel data is only as useful as the actions you take. Regularly check Events Manager, analyze your audiences, and adjust your ads based on the data.
If you feel overloaded or want to get the most from your pixel, you don't have to do it alone. At First Pier, we help businesses improve their Shopify stores for better performance. Learn more about our award-winning Shopify agency and how we can help turn your pixel data into growth.




.png)
.png)
