

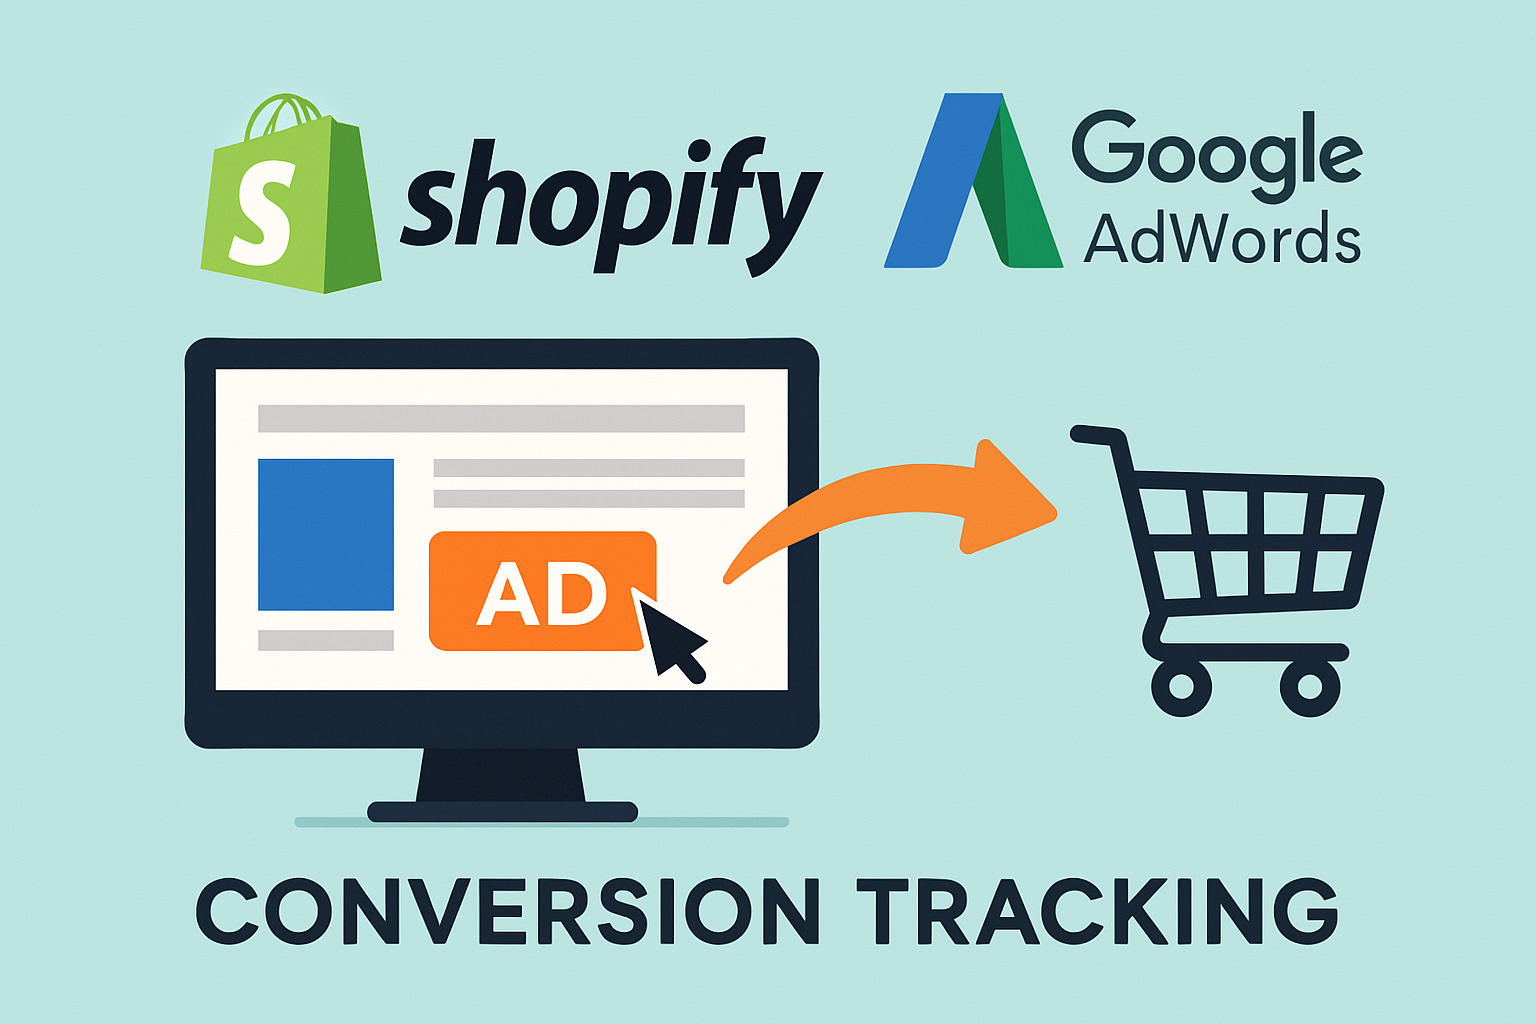

Mastering Conversion Tracking for Google Ads on Shopify
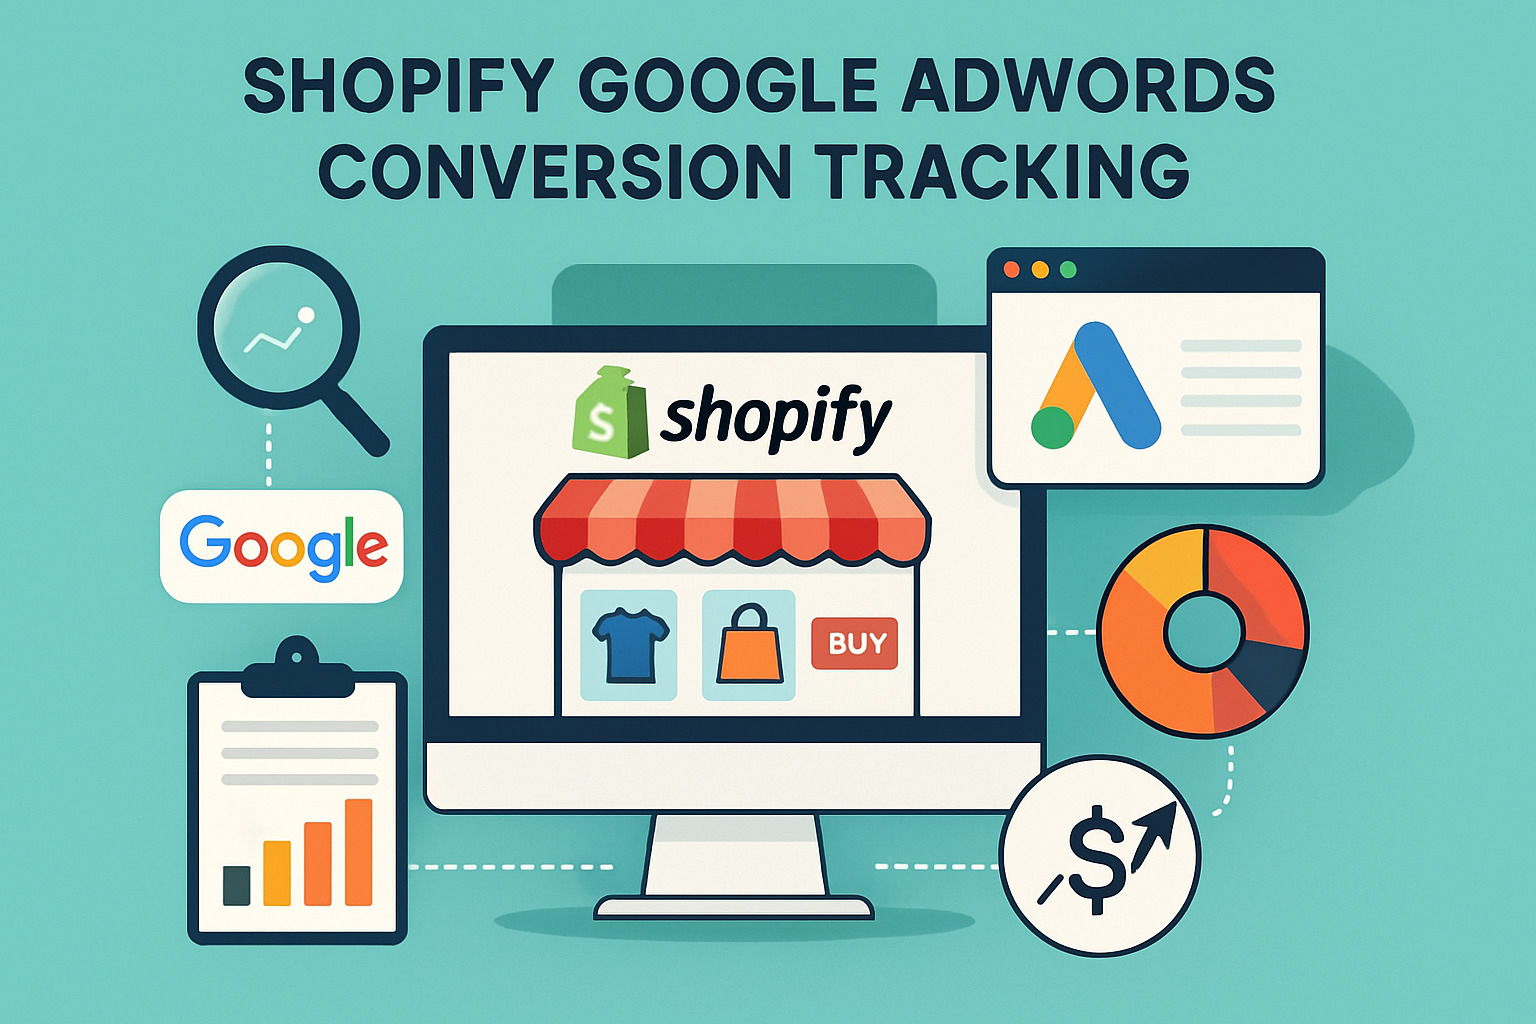
Shopify Google AdWords conversion tracking is essential for measuring the effectiveness of your Google Ads campaigns and maximizing your return on ad spend. If you're looking to set up conversion tracking quickly, here's what you need to know:
Quick Setup Guide for Shopify Google Ads Conversion Tracking:
- Install the Google & YouTube app in your Shopify admin
- Connect your Google Ads account through the app
- Enable conversion tracking during setup or via Settings
- Verify tracking is active in Google Ads under Tools & Settings > Conversions
Truth be told, running ads without proper conversion tracking is almost completely pointless. After auditing hundreds of Shopify stores, I've seen countless businesses wasting thousands on Google Ads without knowing which campaigns actually drive sales.
Conversion tracking creates a direct link between ad clicks and customer actions on your Shopify store. Without it, you're essentially flying blind – unable to optimize campaigns, measure ROI, or make data-driven decisions about your ad spend.
Why accurate conversion tracking matters:
- Optimize ad spend by identifying which campaigns generate actual sales
- Improve ROAS (Return On Ad Spend) through better campaign targeting
- Enable Smart Bidding algorithms to automatically improve performance
- Track multiple conversion types beyond just purchases
- Make data-driven decisions about your marketing budget
I'm Steve Pogson, founder of First Pier and a certified Shopify expert with over two decades of experience implementing Shopify Google AdWords conversion tracking for e-commerce businesses of all sizes. My team and I have helped countless merchants transform their ad performance through precise conversion setup and optimization.

Find more about shopify google adwords conversion tracking:- shopify bing ads conversion tracking- shopify google analytics conversion tracking- how to track conversions on a contact form on shopify
What You'll Learn
In this comprehensive guide, I'll walk you through everything you need to know about Shopify Google AdWords conversion tracking. By the end, you'll understand:
- The fundamentals of conversion tracking and why it's critical for your Shopify store
- Three different implementation methods and which one is right for your business
- Step-by-step instructions for setting up conversion tracking through the Google & YouTube app
- Advanced techniques for manual code implementation and Google Tag Manager
- How to fine-tune your tracking with improved conversions and proper attribution settings
- Troubleshooting tips and answers to frequently asked questions
Whether you're a Shopify beginner or an experienced merchant, this guide will help you implement accurate conversion tracking to transform your Google Ads performance.
Shopify Google AdWords Conversion Tracking 101
Let's break down what Shopify Google AdWords conversion tracking actually is. At its heart, it's simply a way to connect the dots between someone clicking your Google ad and taking a valuable action on your Shopify store. These actions—we call them conversions—might be making a purchase, adding something to their cart, signing up for your newsletter, or any other customer interaction you care about.
The tracking system uses two main pieces:
- Global site tag (gtag.js) - This is a snippet of JavaScript that lives in your Shopify theme and loads on every page
- Event snippet - This is the code that fires when someone completes a specific action you're tracking
Here's how it works in real life: When someone clicks your Google ad, a small temporary cookie gets placed in their browser. Later, if they complete a purchase on your site, the conversion gets recorded and tied back to that original ad click. Pretty neat, right?

Just a heads-up: conversion data isn't instant. After you set everything up, it typically takes 24-48 hours for events to show up in your Google Ads dashboard. Also worth noting—tracking only starts capturing data from the moment it's properly installed. It can't go back in time and grab past conversions.
How Shopify Google AdWords Conversion Tracking Powers Smart Bidding
One of the biggest perks of proper conversion tracking is open uping Google's Smart Bidding strategies. These are automated systems that use machine learning to adjust your bids in real-time based on how likely someone is to convert.
Smart Bidding looks at several key signals:
- Auction-time signals - Things like what device someone's using, where they are, time of day, and whether they've visited your site before
- Conversion data - Patterns from your historical conversion tracking
- Contextual signals - What's on the web pages where your ads appear
With accurate Shopify Google AdWords conversion tracking in place, you can use some really powerful bidding strategies:
- Target ROAS lets you set a target return on ad spend, and Google will adjust bids to try and hit that target
- Target CPA means you tell Google how much you're willing to pay for a conversion, and it works to get you conversions at that price
- Maximize Conversions simply aims to get you the most conversions possible within your budget
Without proper tracking, these tools just aren't available to you. You'd have to stick with manual bidding or less effective automated options.
Shopify Google AdWords Conversion Tracking Basics
Before we jump into setting everything up, let's cover some important concepts:
Primary vs. Secondary Conversions
Google Ads lets you tag conversion actions as either primary or secondary:
- Primary conversions are the ones Google uses for optimization and bidding. These should be your most important actions—usually purchases.
- Secondary conversions are just for your reporting. Think of things like newsletter sign-ups or add-to-cart events.
This distinction helps you focus your optimization on what really matters while still keeping an eye on other helpful customer behaviors.
Duplicate Conversion Risk
A common headache with Shopify Google AdWords conversion tracking is counting the same conversion multiple times. This happens when you accidentally have several tracking methods running at once, such as:
- The automatic tracking from the Google & YouTube app
- Tracking code you've added manually
- Conversions imported from Google Analytics 4
Duplicate tracking can really mess up your data. It makes campaigns look more successful than they actually are, which leads to poor decisions about where to put your money.
Standard vs. Improved Conversions
Google offers two flavors of conversion tracking:
- Standard conversion tracking gives you the basics
- Improved conversions takes things up a notch by sending hashed customer data (like email addresses) to Google, which helps track conversions across different devices and browsers
Improved conversions can boost match rates up to 98%, which is impressive! But they do require some extra setup and privacy considerations.
Getting your Shopify Google AdWords conversion tracking set up correctly is one of the most important things you can do for your online store. It's the difference between guessing what works and knowing for sure where your ad dollars are making the biggest impact.
Picking Your Setup Method: App, Manual, or App-Plus
When it comes to setting up Shopify Google AdWords conversion tracking, you've got three main paths to choose from. Think of these as different routes to the same destination – each with its own balance of ease, data quality, and customization options.
1. The Google & YouTube App Method
The official Google & YouTube app from Shopify is like the express lane for conversion tracking. It's perfect if you're just starting out or want something quick and painless.
This app does all the heavy lifting for you – automatically installing the necessary tracking code and setting up conversion actions in your Google Ads account. You can be up and running in minutes rather than hours.
The best part? It's completely free to use. The app handles both your Google Ads and Google Analytics integration in one place, which means less headache for you.
That said, it does have some limitations. You won't get as many customization options or as detailed data as you would with manual methods. And if your store has a complex setup with custom checkout flows, you might occasionally run into reliability issues.
2. Manual Code Implementation
If you're comfortable with a bit of code and want complete control, the manual approach might be your best bet. This involves adding the Google Ads global site tag to your theme files and placing event snippets in your checkout's additional scripts section.
The beauty of this method is the freedom it gives you. You can customize tracking parameters, capture more detailed conversion data, and make adjustments exactly how you want them. It also works with any Shopify theme or setup, no matter how unique.
The downside? You'll need some technical knowledge to get it right. There's more room for error during setup, and whenever you update your theme, you'll need to remember to re-implement your tracking code.
3. Google Tag Manager (GTM) Implementation
For more sophisticated needs, especially if you're running a larger store or managing multiple marketing channels, Google Tag Manager offers the most powerful solution.
GTM acts as a command center for all your marketing tags – not just Google Ads. Once set up, you can add or modify tracking without touching your theme code again. It supports complex tracking scenarios and advanced features like improved ecommerce data.
The tradeoff is a steeper learning curve. Setting up GTM properly takes more time initially, and you might need third-party apps to implement a complete data layer for your store.

When choosing your setup method, consider these key factors:
Your technical comfort level makes a big difference – are you confident working with code, or would you prefer a more user-friendly approach? Your store complexity matters too – simple stores work fine with the app method, while custom checkout flows might need manual implementation. Think about your data needs – how detailed do your conversion insights need to be? And finally, consider your available resources – do you have the time and expertise for a more complex but powerful setup?
For most Shopify store owners, I typically recommend starting with the Google & YouTube app. It's simple enough to get you going quickly, and you can always graduate to more advanced methods as your business grows and your needs become more sophisticated.
More info about How to Add Google Ads Conversion Tracking to ShopifyGoogle & YouTube
Step-by-Step: Google & YouTube App Implementation
Setting up Shopify Google AdWords conversion tracking with the official Google & YouTube app is by far the simplest approach for most store owners. Let me walk you through this process in a way that's easy to follow, even if you're not particularly tech-savvy.
Step 1: Install the Google & YouTube App
Getting started is straightforward. Head to your Shopify admin dashboard and click on Apps, then "Visit Shopify App Store." Search for "Google & YouTube" and click the "Add app" button. After reviewing the permissions, hit "Install app" and you're on your way.
This app is Shopify's official integration with Google services, making it the most reliable option for beginners and those who want minimal hassle.
Step 2: Connect Your Google Account
Once the app is installed, you'll need to connect it to your Google account:
- Open the newly installed Google & YouTube app in your Shopify admin
- Look for the "Connect account" button and click it
- Choose the Google account you use to manage your Google Ads
- Review and approve the permission requests
This connection creates the bridge between your Shopify store and Google's advertising platform. Make sure you're using the same Google account that manages your ads to avoid confusion later.
Step 3: Set Up Google Ads Conversion Tracking
Now for the important part - activating the actual tracking:
In the app dashboard, find the "Google Ads" section and click "Get started" or "Set up." Select your Google Ads account from the dropdown menu. If you see a banner for "Conversion tracking," make sure it's toggled on, then click "Complete setup."
Behind the scenes, the app creates a conversion action in your Google Ads account called "Google Shopping App Purchase" and automatically installs all the necessary tracking code throughout your Shopify store. This saves you from having to manually add code snippets to your theme files.
Step 4: Enable Improved Conversions (Optional)
For better tracking accuracy, especially across different devices and browsers, I strongly recommend enabling improved conversions:
In the app's Settings section, look for "Improved conversions" under the Google Ads settings. Click "Turn on" and review the customer data terms before accepting.
Improved conversions work by using hashed customer data (like email addresses) to better connect ad clicks with purchases in a privacy-safe way. This can significantly boost your match rates and give you more accurate data about which ads are truly driving sales.
Step 5: Verify Your Setup
After setting everything up, it's important to confirm your tracking is working properly:
Go to your Google Ads account and steer to Tools & Settings > Conversions. Look for the "Google Shopping App Purchase" conversion action and check that its status shows "Recording conversions."

Conversions won't appear instantly. Even after successful setup, expect a 24-48 hour delay before your first conversions start showing up in your Google Ads dashboard after someone clicks an ad and makes a purchase.
Optional Tweaks Inside the App
While the basic setup works well for most stores, you might want to fine-tune your Shopify Google AdWords conversion tracking with a few additional adjustments:
Manage Event-to-Conversion Mappings: In the app's Settings section, click "Manage" under Customer event settings to control which Shopify events connect to which Google Ads conversion actions. This gives you more control over what customer actions you track beyond just purchases.
Set Primary vs. Secondary Conversions: Inside your Google Ads account, go to your conversion actions and decide which ones should be primary (used for optimization) by setting "Include in 'Conversions'" to Yes, or secondary (for reporting only) by setting it to No.
Handle Multi-Currency Stores: If your store sells in multiple currencies, make sure your conversion values remain consistent by editing your conversion action in Google Ads. Under "Value," select "Use different values for each conversion" and set the currency to match your Google Ads account currency. The app will automatically handle currency conversion from your store's currency to your ads account currency.
The Google & YouTube app makes Shopify Google AdWords conversion tracking accessible to everyone, regardless of technical skill level. It's particularly valuable for small to medium-sized stores that want accurate tracking without the complexity of manual code implementation.
Google Merchant CenterMore info about Google Shopping for Shopify
Manual Code & GTM Blueprint
For merchants who need more control over their Shopify Google AdWords conversion tracking, manually implementing the code provides the most flexibility. This approach requires basic technical knowledge but gives you complete control over your tracking implementation.
Step 1: Create a Conversion Action in Google Ads
- Log in to your Google Ads account
- Go to Tools & Settings > Conversions
- Click the blue "+" button
- Select "Website"
- Choose "Purchase/Sale" as the category
- Set "Value" to "Use different values for each conversion"
- Set "Count" to "One" (to avoid duplicate counting)
- Choose your preferred attribution model (I recommend Data-driven or Linear)
- Click "Create and continue"
Google will generate two code snippets for you: the global site tag and the event snippet.
Step 2: Install the Global Site Tag
The global site tag needs to be placed in the <head> section of your Shopify theme:
- In your Shopify admin, go to Online Store > Themes
- Click "Actions" > "Edit code" for your active theme
- Open the
theme.liquidfile - Locate the closing
</head>tag - Paste the global site tag (gtag.js) just before it
- Save the file
```html
```
Step 3: Add the Event Snippet to Checkout
For the event snippet, we'll use Shopify's Additional Scripts feature:
- In your Shopify admin, go to Settings > Checkout
- Scroll down to "Order status page"
- In the "Additional scripts" box, paste your event snippet
- Wrap it with Liquid conditional tags to prevent duplicate firing
```liquid{% if first_time_accessed and post_purchase_page_accessed == false %}
{% endif %}```
The Liquid conditional {% if first_time_accessed and post_purchase_page_accessed == false %} ensures the conversion is only counted once per order and doesn't fire on post-purchase upsell pages.
Step 4: Make Conversion Values Dynamic
To capture accurate order values, we use Shopify's Liquid variables:
{{ checkout.total_price | divided_by: 100.0 }}- Gets the total order amount (divided by 100 because Shopify stores prices in cents){{ checkout.currency }}- Passes the correct currency code{{ order.order_number }}- Adds a unique transaction ID to prevent duplicate counting
Setting Up with Google Tag Manager
For even more flexibility, you can implement Shopify Google AdWords conversion tracking through Google Tag Manager (GTM):
- Create a GTM account and container
- Add the GTM container code to your theme.liquid file
- Create a new tag for Google Ads conversion tracking
- Set up triggers based on the thank you page or custom events
- Configure variables to capture dynamic values
- Test and publish your container
More info about Google Tag Manager Shopify
Shopify Google AdWords Conversion Tracking with GTM & Data Layers
The power of GTM comes from using data layers to pass rich information to your tags. For comprehensive Shopify Google AdWords conversion tracking, you'll want to implement a data layer that includes:
javascriptwindow.dataLayer = window.dataLayer || [];dataLayer.push({ 'event': 'purchase', 'ecommerce': { 'purchase': { 'actionField': { 'id': '{{ order.order_number }}', 'revenue': '{{ checkout.total_price | divided_by: 100.0 }}', 'tax': '{{ checkout.tax_price | divided_by: 100.0 }}', 'shipping': '{{ checkout.shipping_price | divided_by: 100.0 }}' }, 'products': [ {% for line_item in checkout.line_items %} { 'name': '{{ line_item.product.title | replace: "'", "\\'" }}', 'id': '{{ line_item.product.id }}', 'price': '{{ line_item.price | divided_by: 100.0 }}', 'brand': '{{ line_item.product.vendor | replace: "'", "\\'" }}', 'category': '{{ line_item.product.type | replace: "'", "\\'" }}', 'variant': '{{ line_item.variant.title | replace: "'", "\\'" }}', 'quantity': {{ line_item.quantity }} }{% unless forloop.last %},{% endunless %} {% endfor %} ] } }});
This rich data layer allows you to track not just conversions but detailed product data, enabling advanced remarketing and audience targeting.
Shopify Google AdWords Conversion Tracking on Post-Purchase Page
If your store uses post-purchase upsell apps, you'll need special handling to track these additional sales correctly:
- Identify if your store uses post-purchase upsells
- Modify your event snippet to check for the post-purchase page:
```liquid{% if first_time_accessed and post_purchase_page_accessed == false %}
{% endif %}
{% if post_purchase_page_accessed %}
{% endif %}```
This ensures you're capturing the full value of each customer journey, including post-purchase upsells that might otherwise be missed.
Fine-Tune Accuracy: Improved Conversions, GA4 Imports, Attribution & Privacy
Taking your Shopify Google AdWords conversion tracking to the next level means fine-tuning for maximum accuracy. This isn't just about collecting data—it's about ensuring that data truly reflects your customers' journey and your marketing success.
Improved Conversions: Better Matching Through Hashing
Improved conversions is one of Google's most powerful features for enhancing tracking accuracy. It works by sending hashed customer data (like email addresses) to Google in a privacy-safe way. This helps match conversions to ad clicks even when cookies are limited or customers switch devices.
To implement improved conversions on your Shopify store:
javascriptgtag('event', 'conversion', { 'send_to': 'AW-123456789/AbC-D_efG-h12_34-567', 'value': {{ checkout.total_price | divided_by: 100.0 }}, 'currency': '{{ checkout.currency }}', 'transaction_id': '{{ order.order_number }}', 'user_data': { 'email': '{{ checkout.email | sha256 }}', 'phone_number': '{{ checkout.phone | sha256 }}' // Additional fields can be included }});
The magic happens with the | sha256 Liquid filter, which transforms customer information into a secure hash before sending it to Google. This dramatically improves match rates—often up to 95-98%—while protecting customer privacy.
GA4 Import vs Ads Tag: Choosing Your Tracking Strategy
You have two main paths for getting conversion data into Google Ads:
Direct Google Ads tracking gives you faster data (though still with a 24-48 hour delay) and captures all conversion types, including view-through conversions. It's typically more accurate for ad optimization since it's built specifically for Google Ads.
GA4 imports offer the advantage of unified tracking across all channels and a consistent attribution model with your analytics. There's also less code to maintain since you're using one tracking system.
I generally recommend using direct Google Ads tracking as your primary method while setting up GA4 imports as a secondary backup. This gives you the best of both worlds—direct tracking for optimization and GA4 for cross-channel analysis.
Attribution Models: Understanding the Customer Journey
Attribution determines how credit for conversions gets distributed across multiple ad interactions. Think of it as deciding who gets credit for the sale when a customer sees several of your ads before buying.
Google Ads offers several attribution models, each with distinct advantages:
Linear attribution distributes credit evenly across all touchpoints—perfect for longer customer journeys where multiple interactions matter.
Position-based attribution gives 40% credit to the first interaction, 40% to the last, and divides the remaining 20% among middle interactions—ideal for businesses where initial findy and final decision are most important.
Data-driven attribution uses machine learning to determine the most accurate credit distribution based on your actual data. It requires at least 600 conversions in 30 days but provides the most accurate results.
The right model depends on your business. For most Shopify stores selling consumer products, linear or data-driven attribution works best. For higher-priced items with longer consideration periods, position-based attribution might better reflect the importance of that first introduction.
Don't forget about conversion windows too. The default 30-day click window works for most products, but for big-ticket items, you might extend this to 90 days to capture the full decision journey.
Privacy Considerations in the Modern World
With privacy regulations like GDPR and the phasing out of third-party cookies, implementing Shopify Google AdWords conversion tracking in a privacy-compliant way is essential.
Make sure to:- Update your privacy policy to clearly disclose your use of Google Ads tracking- Implement a proper consent banner for visitors from regions with strict privacy laws- Use improved conversions responsibly with proper hashing to protect customer data- Consider exploring server-side tracking for a more privacy-friendly approach
Google's consent policy provides guidance on implementing tracking in a compliant way. This isn't just about avoiding legal issues—it's about respecting your customers' privacy while still getting the data you need to serve them better.
More info about Google Performance Max for Shopify
Avoiding Duplicate Data Across Platforms
One of the most common pitfalls in conversion tracking is counting the same conversion multiple times. This happens when you have overlapping tracking methods, like the Google & YouTube app, manual implementation, and GA4 imports all running simultaneously.
To prevent duplicate counting:
Choose one tracking method as your primary source of truth. For most stores, direct Google Ads tracking makes the most sense here.
For any secondary tracking methods, go to Google Ads > Tools & Settings > Conversions, find those conversion actions, and set "Include in 'Conversions'" to "No." This way they'll still be tracked but won't be counted twice in your main metrics.
Use unique, descriptive names for your conversion actions so you can easily identify where each conversion is coming from. Something like "Shopify Purchase - Direct Tag" and "Shopify Purchase - GA4 Import" makes it clear at a glance.
Regularly audit your Google Ads conversion actions to spot and remove any duplicates. This simple maintenance step can save you from making expensive decisions based on inflated data.
Accurate conversion tracking isn't just about implementation—it's about ongoing maintenance to ensure your data stays clean and reliable as your marketing evolves.
Testing, Troubleshooting & FAQ
Testing is a crucial step to make sure your Shopify Google AdWords conversion tracking is working as it should. After all, you want to be confident that your ad spend is being properly attributed to actual sales!
Testing Your Implementation
The best way to validate your tracking setup is through a systematic approach. Start by using Google Tag Assistant - a handy Chrome extension that shows you exactly which Google tags are firing on your website. This tool highlights any issues with your implementation in real-time.
Next, check the Conversion column in your Google Ads account. You should see a "Recording conversions" status if everything is properly connected. But don't stop there - the most reliable test is to actually place a test order. Complete a purchase through your checkout process to trigger the conversion event.
For the technically inclined, you can also open Chrome DevTools and check the Network tab while completing a purchase. Look for successful requests to Google's servers that confirm your conversion data is being sent.
Remember - patience is key here. Conversion data typically takes 24-48 hours to appear in your reports. I've had many clients panic when they don't see conversions immediately after setup, only to find everything working perfectly a day or two later.
Common Troubleshooting Issues
In my years of setting up Shopify Google AdWords conversion tracking, I've encountered several recurring issues:
Missing Global Site Tag is probably the most common problem. You'll usually see a warning in Google Ads about this. The fix is simple: verify that the global site tag is correctly placed in your theme.liquid file before the closing </head> tag.
Duplicate Conversions can seriously skew your data. If your conversion counts are much higher than your actual orders, you likely have multiple tracking methods active at once. Check for overlapping tracking methods and remove any duplicates.
If you're seeing No Conversions Appearing after 48+ hours, it's time for a deeper check. Verify all your code is correct, test with Tag Assistant, and look for any JavaScript errors that might be preventing your tags from firing.
For stores with Multi-Currency Issues, conversion values often appear incorrect. The solution lies in making sure you're using the correct Liquid variables for currency conversion in your tracking code.
When Improved Conversions Aren't Working, you'll typically see a "Not receiving improved conversions" warning. Double-check that your customer data parameters are correctly formatted and properly hashed for privacy.
Why Are My Shopify Google AdWords Conversion Tracking Numbers Off?
This is perhaps the most common question I hear from Shopify store owners. If your conversion numbers don't align with your actual sales, several factors could be responsible:
Attribution windows play a big role - conversions might be attributed to ads clicked up to 30 days ago, depending on your settings. View-through conversions count users who saw but didn't click your ad before making a purchase.
Duplicate tracking is another culprit, with multiple conversion tags firing for the same purchase. There are also natural differences between attribution models in Google Ads versus Google Analytics.
For high-traffic sites, sampling in GA4 may also contribute to data discrepancies.
To get to the bottom of these differences, start by comparing conversion counts with your actual Shopify orders. Check for duplicate conversion actions in Google Ads, and review attribution settings across all your conversion sources. Most importantly, make sure your event snippet includes proper conditional logic to prevent multiple counting.
How Long Before Conversions Show in Google Ads?
The waiting game can be frustrating, but typically, conversion data takes 24-48 hours to appear in your Google Ads reports after a conversion happens. This timeline depends on several factors:
Your tag implementation needs to be correct for data to be captured in the first place. Then, Google's processing systems need time to handle the data. Finally, your attribution window settings determine which conversions get counted and when.
One crucial point that many store owners miss: conversion tracking is not retroactive. It only starts tracking from the moment it's properly installed. You won't see historical data for conversions that happened before your setup was complete.
How Do I Confirm Improved Conversions Are Working?
For stores using improved conversions (which I highly recommend for better accuracy), verification is straightforward:
- In Google Ads, go to Tools & Settings > Conversions
- Click on your conversion action
- Look for the "Improved conversions" status
- Check the "Last received" date to confirm recent data is coming through
Improved conversions typically take up to 48 hours to be verified by Google Ads. The "Improvement status" column will tell you if customer data is being properly received and processed. When working correctly, this feature can dramatically improve your match rates and give you a much more accurate picture of your ad performance.
If you're struggling with any aspect of Shopify Google AdWords conversion tracking, our team at First Pier has helped hundreds of store owners solve these exact issues. We've seen every tracking problem imaginable and know exactly how to fix them quickly.
Conclusion
Setting up accurate Shopify Google AdWords conversion tracking is one of the smartest moves you can make to improve your ad performance. When you know exactly which campaigns drive real sales, you can make better decisions about where to spend your marketing budget.
Throughout this guide, we've covered everything you need to track your Google Ads conversions properly. Whether you chose the simple app method or went with a more customized approach, you now have the tools to measure what matters most – actual sales and revenue.
Good tracking isn't just about collecting data. It's about using that information to make your ads work harder for your business. With proper conversion tracking, you can:
- Focus your budget on the campaigns that actually drive sales
- Improve your return on ad spend by eliminating wasted clicks
- Let Google's Smart Bidding do the heavy lifting to optimize your bids
- Make confident decisions based on real data, not guesses
The best part? Once you've set everything up correctly, Google's automation can take your campaigns to the next level, finding more customers like your best ones.
That tracking isn't a "set it and forget it" task. As your business grows and changes, you'll want to check your tracking setup regularly. New products, seasonal promotions, and changes to your website might require adjustments to keep your data accurate.
At First Pier, we've helped countless Shopify merchants transform their Google Ads performance through proper conversion tracking. Our team knows how frustrating it can be to spend money on ads without knowing if they're working. That's why we're passionate about helping store owners like you establish clear, accurate tracking systems that drive real growth.
If you're feeling overwhelmed by all the technical details or just want an expert to check your setup, we're here to help. Our team can audit your current tracking, fix any issues, and make sure you're getting the most from your ad spend.
Ready to stop guessing and start knowing exactly how your Google Ads perform? Contact our team at First Pier for personalized help with your Shopify Google AdWords conversion tracking.


.png)
.png)

