


Shopify Liquid Schema is the gateway to creating immersive digital experiences for your customers. It operates as the beating heart of your Shopify store, shaping and forming the user experience at every click, giving you the power to tell your brand story in a digital language that truly resonates. So how can you make quick and effective changes to master this game-changing tool?
Shopify Liquid is a templating language that powers over a million businesses, allowing developers to build dynamic, user-centric e-commerce storefronts. Teamed with Schema, it offers a structured data format, giving search engines a rich context of your site and its content, transforming your visibility on the web.
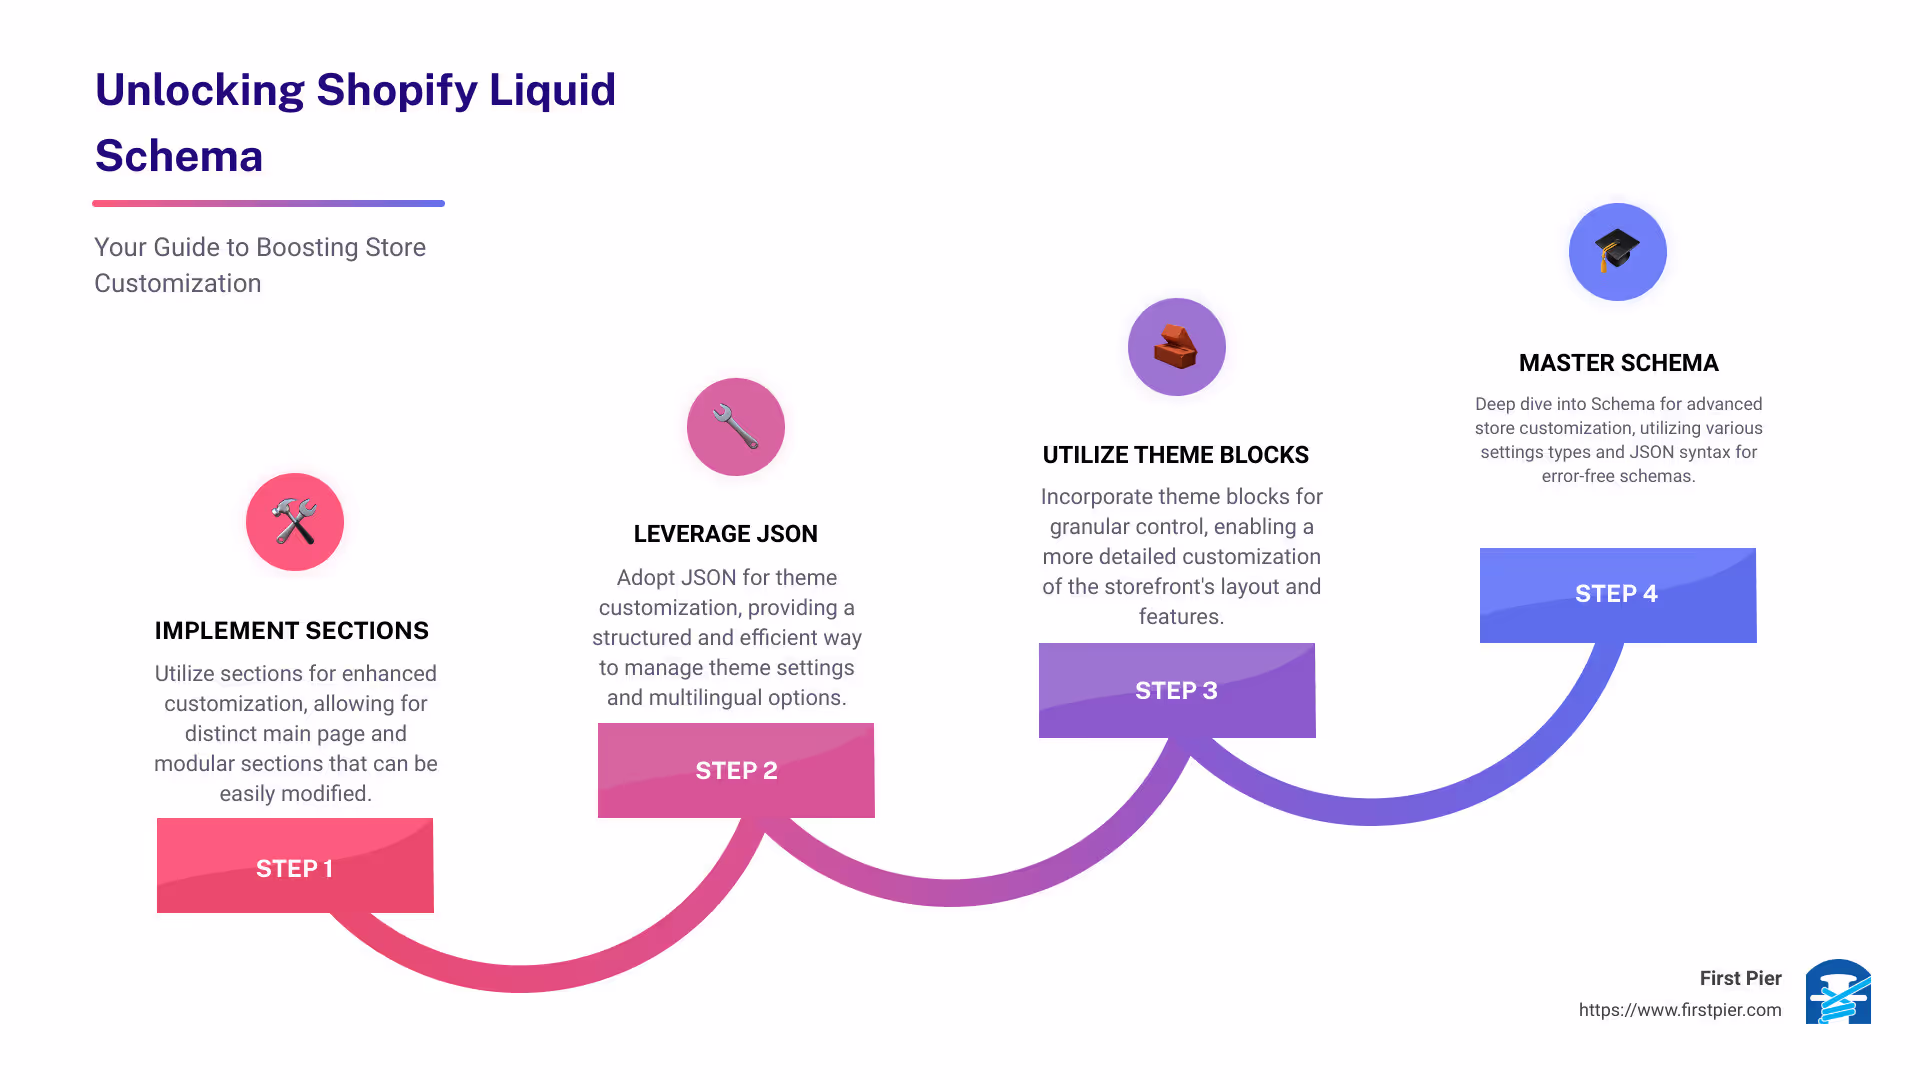
This guide will walk you through five quick changes that you can make to your Shopify store's schema, helping you maximize its potential. We'll demystify Shopify Liquid, empowering you to control the narrative of your online presence, ultimately enhancing the buyer pathway and driving conversions.
In e-commerce where every click matters, our goal is to help you unlock the power of Shopify Liquid and Schema, ensuring your online storefront doesn’t just mirror your physical one, but surpasses it. Let's get started on this journey towards a truly SEO-friendly Shopify store.
Quick Change 1: Implementing Sections for Enhanced Customization
Let's kick off with understanding sections and how they work in the Shopify universe. Sections are like building blocks of your Shopify store. They're reusable modules that you can customize, add, or remove on different pages of your store. They're versatile and can be used to showcase content like text, images, products, or even videos.
Understanding the Role of Sections in Shopify
In Shopify, sections play a vital role in bringing your online store to life. They allow you to create a unique and dynamic shopping experience for your customers. By using sections, you can customize the layout and content of different pages on your store, offering a high degree of customization.
For instance, a product page might include blocks for the product image, product description, and customer reviews. You can individually customize and rearrange these blocks to create a unique page layout, tailor-made for your customers.
Differentiating Between Main Page Sections and Modular Sections
When working with Shopify sections, it's crucial to understand the difference between main page sections and modular sections. Main page sections are the primary sections that make up the page's layout. These usually include the header, main content area, and footer.
On the other hand, modular sections are additional sections that you can add to the main content area to enhance functionality or provide additional information. For instance, on a product page, you might add a modular section for customer reviews or related products.
Customizing Section Settings for Optimal Use
Shopify gives you the flexibility to customize section settings according to your needs. You can create settings within {% schema %} tags. These settings allow you to modify the section according to your preferences and business requirements.
A properly configured Shopify settings schema can significantly impact your online store's visibility, traffic, and sales. It helps search engines understand your content better, leading to more accurate indexing and improved visibility.
Creating Custom Sections for Unique Storefronts
Creating a custom section in Shopify is a straightforward process. When creating a custom section, you need to define values and settings in the schema area. Shopify provides a settings_schema.json file where you can define your settings. This file is a JSON file that dictates the customization options available in the Shopify theme editor.
For example, you could define a new section named "Collage" with a maximum of 5 blocks. The settings could include a text field for the title of the collage.
In conclusion, mastering the art of sections in Shopify can give you a competitive edge, providing a high degree of customization that will enhance your store's user experience. As Steve, our Shopify expert at First Pier often says, "Knowing how to use Theme Blocks and Sections effectively is like having a superpower. It allows you to turn your Shopify store into a high-converting machine."
Now that we've covered the basics of sections and how they can be used to enhance your Shopify store, let's move on to the next quick change - Utilizing JSON for Theme Customization.
Quick Change 2: Utilizing JSON for Theme Customization
Our team at First Pier believes in the power of customization. And when it comes to Shopify, JSON is the key to unlocking a whole new level of customization. Let's delve into how you can master this tool.
The Role of JSON in Theme Settings
JSON, or JavaScript Object Notation, plays a crucial role in creating settings that merchants can access through the theme editor. It offers a way to provide settings at the theme, section, or block level. These settings can be fixed, such as informational elements, or interactive, like a drop-down menu. Utilizing JSON for theme settings ensures your theme is more flexible and customizable to better express a merchant's brand.
The settings_schema.json file, for instance, controls the content of the Theme settings area of the theme editor. Settings in this file translate to global theme settings, which can be accessed through the Liquid settings object.
Understanding Sidebar Settings and Other Settings
There are various places where you can create settings, including in the settings_schema.json file and section files using the {% schema %} tag. These settings can either be static or interactive, providing either fixed elements or elements that can be changed by merchants, respectively.
Translating Settings for Multilingual Stores
If your Shopify store serves a multilingual audience, translating your settings is crucial. Depending on the store's active language, you can translate various attributes of the settings schema. These translations are stored in schema locale files, ensuring your store is user-friendly for customers from different linguistic backgrounds.
Avoiding Common Pitfalls with Setting Values
When working with settings, always ensure the values are in the correct format. Any setting without an automatic default value could end up with no value, which translates to an empty string in the Liquid template language. Always verify that the value is in the format you expect to avoid unexpected issues when rendering the theme.
By leveraging JSON for settings, you can create a more flexible and customizable Shopify store. It's an effective way to cater to your customers' preferences and express your brand's personality. As our expert at First Pier, Steve Pogson, always emphasizes, "Mastering JSON in Shopify schema is like unlocking the next level of customization for your online store."
Stay tuned for the next section where we'll discuss leveraging theme blocks for granular control in your Shopify store.
Quick Change 3: Leveraging Theme Blocks for Granular Control
Once you've mastered sections and JSON, it's time to take a deep dive into theme blocks. Theme blocks are smaller, customisable elements that go into the sections we've previously discussed. They are the secret sauce to building a Shopify store that truly reflects your brand's personality and caters to your customers' preferences.
The Basics of Building Theme Blocks
To build theme blocks, you'll spend some time in the schema area of your section files, defining the values and settings of your blocks. This might sound intimidating, but don't worry. You can refer to our developer documentation if you need a refresher on how attributes and properties are organized using JSON.
For example, let's say we want to create a simple footer with a hyperlink and a custom text field. Each of these elements is wrapped in its own container with classes of "link" and "text". We'll use the block.shopify_attributes to add data attributes to the element. The theme editor's JavaScript API uses a block's shopify_attributes to identify blocks and listen for events.
The key takeaway here? Blocks allow you to add various content elements to your Shopify store, giving you the power to customize your site's appearance and functionality.
Best Practices for Implementing Theme Blocks
When it comes to implementing theme blocks, it's crucial to set limits where appropriate. For instance, while it might be tempting to allow a large number of video blocks to be added to a section, doing so could impact site-loading times and clutter the page. Our expert, Steve Pogson, advises limiting this to displaying only one video.
Also, it's important to remember that the maximum limit for blocks in a section is 16. A merchant can add any combination of eight available blocks, which gives you flexibility, but also demands a degree of restraint.
For a more in-depth understanding of UX considerations for blocks, check out our developer documentation on block layouts. And don't forget to test on different screen sizes to ensure all your elements are displaying as expected.
Enhancing Functionality with App Blocks
App blocks provide extra functionality to your Shopify theme by allowing apps to insert block content into theme sections. This means you can enhance your store's functionality without the need for intricate coding or complex integrations.
By leveraging app blocks, you can add features like customer reviews, social sharing buttons, or email list sign-up forms without affecting the overall aesthetics of your site.
As our expert at First Pier, Steve Pogson, often says, "Knowing how to use Theme Blocks and App Blocks effectively is like having a superpower. It allows you to turn your Shopify store into a high-converting machine."
Stay tuned for the next section where we'll discuss mastering schemas for store customization.
Quick Change 4: Mastering Schemas for Store Customization
In your journey to master schema Shopify liquid, understanding schemas for store customization is a must. A schema is a Shopify liquid tag that contains JSON inside. It's a powerful tool that gives you the ability to create settings that users can then change to customize the section of your Shopify store.
Understanding the Three Types of Settings in Shopify
First, let's understand the three types of settings in Shopify: Theme settings, Section settings, and Block settings.
Theme settings affect the entire theme and can be accessed at any time using {{ setting.setting_id }}. They are created in the settings_schema.json file and values are saved in the settings_data.json file, both in the Config folder of a theme.
Section settings, as the name suggests, are specific to the particular section where they are used. Finally, Block settings are meant for individual blocks within a section.
Understanding these three types of settings is the first step to mastering schemas in Shopify.
Creating Input Settings within Schemas
Creating input settings within schemas is a crucial part of Shopify store customization. These are different types of inputs (settings) that you can have, and Shopify supports 28 types of them. From a simple checkbox to more complex input types like collection_list or video_url, mastering these inputs can give you a lot of control over your store customization.
The process of creating an input setting involves three required values: Type, id, and label. The type refers to the kind of input setting you are creating, the ID is used for reference and storing the value in the template file, and the label is the text shown to store owners to describe what the setting does.
Learning JSON Syntax for Error-Free Schemas
It's crucial to have a good grasp of JSON syntax to create error-free schemas. Schemas in Shopify are written in JSON, a widely used data format that's easy to understand and work with.
One of the common elements you'll find in a schema is the {% schema %} and {% endschema %} tags. The content inside these tags is written in JSON format. Your schema can have different attributes, such as name, tag, class, presets, and more.
Mastering JSON syntax and understanding how to structure your schema is a critical part of successful Shopify store customization. It's like the Dewey Decimal system for your online store, and once you understand it, you can transform your store's discoverability and user experience.
At First Pier, we believe that mastering schemas for Shopify can revolutionize your online store's presence. So take a deep dive into schemas, experiment with different settings and inputs, and watch your store transform before your eyes.
In the next section, we'll be talking about implementing advanced techniques for schema optimization, so stay with us!
Quick Change 5: Implementing Advanced Techniques for Schema Optimization
Just as we've covered the basics, it's time to delve deeper into the realm of schema Shopify liquid optimization. Here, we will introduce you to the advanced techniques for schema optimization that will give your online store the competitive edge it needs.
Using CSS Inline and Section ID Approach for Re-usable Sections
One of the best ways to maximize the use of your Shopify store's sections is to create reusable sections. Sections that can be used across multiple pages not only save you time and effort but also ensure brand consistency throughout your online store.
To do this, use the CSS inline and section ID approach. This allows you to style each section separately, giving you total control over the design and layout of each section while keeping your code neat and organized.
However, it's critical to remember that while this approach is highly beneficial, it requires a clear understanding of both CSS and Shopify liquid. So, if you're not confident with your coding skills, it's best to consult with experts like us at First Pier.
Utilizing the Presets Attribute for Default Values
One of the most useful attributes in the Shopify schema is the presets attribute. This attribute allows you to set default values for a section when it's added to your store.
For example, if you want users to choose between 1, 2, or 3 columns on mobile for a particular section, you can set these as default values using the presets attribute. This not only simplifies the process for users but also helps maintain consistency across your site.
Remember, presets make your life easier by adding in default values. When a section gets added, it will automatically have some populated content and chosen settings. This will save you hours of frustration from making syntax errors & speed up your development.
Accessing Shopify Dev Docs for Continuous Learning
Lastly, the road to mastering Shopify liquid schema involves continuous learning. And for that, the Shopify dev docs should become your best friend.
These comprehensive guides not only provide you with in-depth tutorials on schema customization, but they also keep you updated with the latest best practices and updates from Shopify.
And if you ever get stuck or make syntax errors, use the JSON validator to check your code. This tool will help you identify and correct errors, ensuring that your schemas are always in top shape.
At First Pier, we believe that mastering Shopify liquid schema is a journey, not a destination. So, keep exploring, keep learning, and most importantly, keep optimizing. After all, your Shopify store is only as good as the effort you put into it.
Stay with us in our next section where we'll wrap up everything we've learned and take a look at how mastering Shopify liquid schema can take your online store to the next level!
Conclusion: Taking Your Shopify Store to the Next Level with Liquid Schema
Mastering the Shopify liquid schema can seem like an uphill task. However, with the right guidance and a little bit of persistence, you can elevate your Shopify store to new heights.
We've covered a lot of ground in this article, from understanding the role of sections in customization to tapping into the power of JSON for theme customization. We've also delved into the details of theme blocks and schemas, and even highlighted some advanced techniques for schema optimization.
Implementing these quick changes can significantly boost your store's performance, making it more user-friendly and SEO-optimized. But remember, it's not just about making these changes. It's about understanding why they're necessary and how they contribute to your overall e-commerce success.
As Shopify liquid schema experts like our very own Steve Pogson from First Pier would tell you, it's not just about knowing what to do, but also understanding why you're doing it. That's the key to truly mastering Shopify liquid schema.
Changes and updates are an integral part of the digital landscape. Staying updated on the latest changes, updates, and best practices is crucial. Regularly check Shopify's official documentation, follow their developer blog, and engage with the developer community.
At First Pier, we're committed to helping you navigate the complexities of Shopify schema and liquid. With our expertise in Shopify development and optimization, we can help you implement these changes and optimize your store for success.
So, are you ready to take your Shopify store to the next level with liquid schema? We're here to help. Visit our Updates From Our Team page for more in-depth guides on mastering various aspects of Shopify.

The journey to e-commerce success is a marathon, not a sprint. But with the right partner by your side, you're set for a rewarding journey. Let's take this journey together.


.png)
.png)
