In the bustling labyrinth of e-commerce, one underrated yet crucial element that holds the potential to uplift user experience and drive growth is Shopify pagination. As a specialized feature, pagination is the unsung hero that significantly contributes to streamlined navigation, efficient content management, and improved SEO performance in Shopify stores. However, at First Pier, we understand the complexities and potential pain points you may encounter when trying to set up or optimize your Shopify pagination system.
Shopify pagination, an ordered numbering of pages, essentially divides a large volume of content, like products, blog articles, or search results, across multiple pages. This partitioning not only enhances the design and usability but also accelerates loading speed, making it more user-friendly. Though understated, pagination is undeniably essential in theme designs within Shopify, as it imposes a limit of 50 results per page in any given loop.
Consider this akin to a triage at a hospital. With an avalanche of patients (users), the medical staff (your store) needs a system to efficiently categorize and address each patient based on the urgency of their needs (user navigation). That's where pagination steps in that helps you organize your content and guide your customers smoothly through their shopping journey.
To ensure a clear understanding, here's a succinct breakdown of key elements about Shopify pagination:
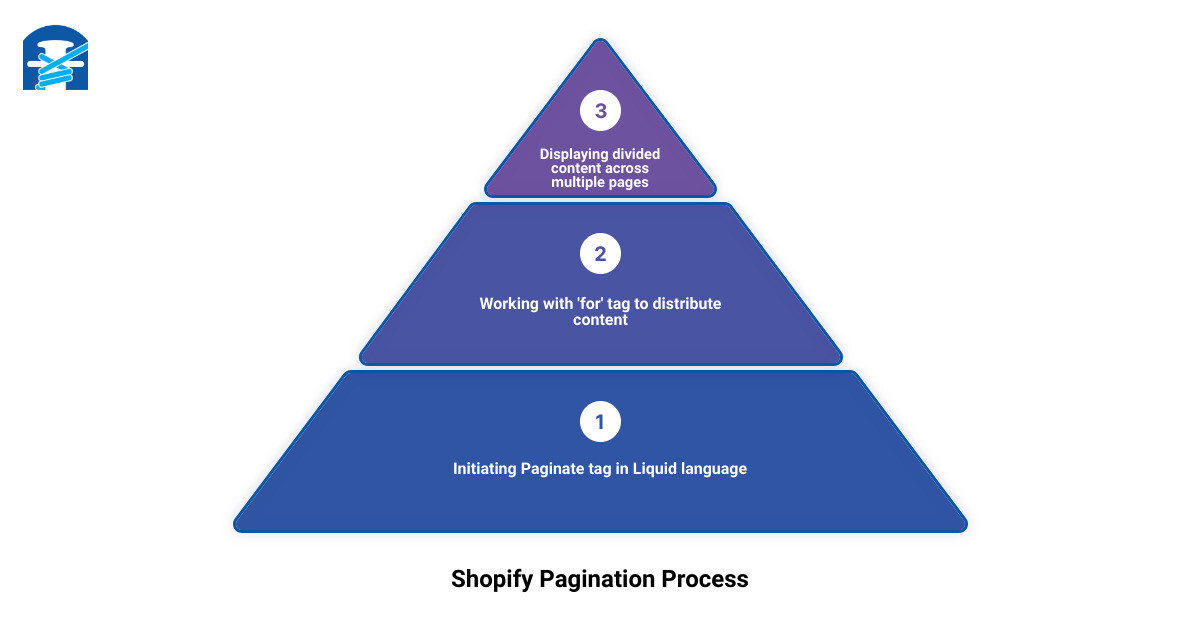
- What is Shopify Pagination? It's an ordered numbering of pages that splits your content across multiple pages.
- What Can Be Paginated? Products, blog articles, and search results can all be divided using pagination.
-
How Does It Work? A
paginatetag in Shopify's Liquid language is used, which works with afortag to distribute the content over multiple pages. - Limitations? The major constraint is a limit of 50 results per page in any loop.
Our forthcoming sections will delve deeper into these essentials, discussing the importance, setup, customization techniques, accessibility, and troubleshooting.

Stay with us as we unravel the mystery and potential of mastering Shopify pagination and set your e-commerce path ablaze with streamlined functionality.
Understanding the Importance of Pagination in E-commerce
As we dive into the world of Shopify pagination, it's essential to realize the fundamental role it plays in e-commerce. It's not just about splitting content into pages; it's about creating a seamless browsing experience for your customers and boosting your store's SEO.
The Role of Pagination in User Navigation

Have you ever scrolled through an online store that listed hundreds of products on one page? It's overwhelming, isn't it? That's where pagination comes in. It breaks down large amounts of content into manageable chunks, primarily when dealing with product listings, blog articles, and search results.
Pagination serves as a virtual roadmap for your online store, guiding customers through your content in an orderly and user-friendly manner. This systematic approach enhances usability, speeds up page loading times, and promotes a smooth user experience.
For instance, in Shopify, you can use the paginate tag to split your products or blog articles into multiple pages. You can limit the number of results per page to 50, ensuring your users don't get overwhelmed by a barrage of information all at once.
Benefits of Pagination for SEO
Beyond user navigation, pagination has significant implications for search engine optimization (SEO). Properly implemented pagination can help search engines understand the structure of your site, leading to better indexing and improved search rankings.
Google and other search engines use "spiders" to crawl your website, indexing your pages based on their content. If you have a large number of items listed in one long, endless page, these spiders may struggle to index your content correctly. Conversely, a well-paginated site presents a clear path for these spiders, making it easier for them to crawl, understand, and index your site.
Furthermore, pagination can reduce bounce rates and increase dwell time—two critical SEO metrics. By presenting your content in digestible chunks, users are more likely to stay on your site longer and browse through multiple pages, signaling to search engines that your site is providing valuable content.
At First Pier, we understand the critical role of pagination in e-commerce. Our team of Shopify experts can help you leverage pagination to enhance your user experience and improve your SEO, driving your online success.
In the next section, we'll guide you through setting up pagination on your Shopify store. Stay tuned!
How to Set Up Pagination in Shopify
Now that we've covered the importance of pagination, it's time to dive into the practical part - setting up pagination in Shopify. With our expert guidance, you'll be able to implement this functionality effectively, enhancing your customers' navigation experience and boosting your SEO efforts.
Using the Paginate Tag in Shopify's Liquid Language
Shopify uses a powerful templating language called Liquid to build dynamic and responsive storefronts. This language is key to setting up pagination in Shopify. The first step in this process is to use the paginate tag.
This tag is used in conjunction with the for tag to split your content into multiple web pages. For example, if you'd like to paginate your product collection, you'd use the following code:
{% paginate collection.products by 5 %}
 {% for product in collection.products %}
 <!--show product details here -->
 {% endfor %}
 <!-- show pagination links here -->
 {% endpaginate %}
{% for product in collection.products %}
<!--show product details here -->
{% endfor %}
<!-- show pagination links here -->
{% endpaginate %}
In this example, collection.products is the array that you're splitting into multiple pages, and 5 is the number of items you want displayed on each page.
Specifying the Type of Content to Paginate
One of the powerful aspects of Shopify's Liquid language is its flexibility. You can specify the type of content you want to paginate, whether it's a collection of products, blog posts, or search results.
For instance, if you want to paginate your blog posts, you'd use the following code:
{% paginate blog.articles by 10 %}
 {% for article in blog.articles %}
 <!--show article details here -->
 {% endfor %}
 <!-- show pagination links here -->
 {% endpaginate %}
{% for article in blog.articles %}
<!--show article details here -->
{% endfor %}
<!-- show pagination links here -->
{% endpaginate %}
In this example, blog.articles is the array being paginated, and 10 is the number of articles displayed per page.
Setting the Limit for Pagination in Shopify
After specifying the content you want to paginate, it's crucial to set a limit for the pagination. Shopify allows you to display between 1 and 50 results per page. By default, the limit value is 50. However, you can adjust this according to the needs of your store and your customers' preferences.
For example, if you want to display 12 products per page, you'd adjust the code as follows:
{% paginate collection.products by 12 %}
 {% for product in collection.products %}
 <!--show product details here -->
 {% endfor %}
 <!-- show pagination links here -->
 {% endpaginate %}
{% for product in collection.products %}
<!--show product details here -->
{% endfor %}
<!-- show pagination links here -->
{% endpaginate %}
Remember, the key is to strike a balance between providing enough content to keep your customers engaged and not overwhelming them with too much information at once.
In the following sections, we'll delve into more advanced aspects of Shopify pagination, including customization and accessibility. Stay tuned to master Shopify pagination and streamline your e-commerce experience!
Customizing Shopify Pagination
With an understanding of how to set up pagination in Shopify, the next step in mastering this essential e-commerce feature is customization. As with many features on Shopify, pagination isn't a one-size-fits-all solution. Instead, it's a flexible tool that you can adjust to fit your brand's unique needs and style. Let's explore how you can override default pagination labels and use CSS for further customization.
Overriding Default Pagination Labels
The default labels for pagination in Shopify are "Next" and "Previous." While these labels are straightforward and universally understood, they might not align perfectly with your brand's voice or your customers' language preferences.
Fortunately, Shopify allows you to override these default labels by passing new labels to the next and previous options. For example, if you want your labels to read "More Products" and "Fewer Products" instead, you can specify this in your Shopify theme's Liquid code. By customizing your pagination labels, you can inject more of your brand's personality into every aspect of your online store and create a more engaging shopping experience.
Using CSS for Pagination Customization
CSS (Cascading Style Sheets) provides even more opportunities for customization. With CSS, you can modify your Shopify pagination's appearance to match your store's overall design and aesthetic. This includes changes to color, size, font, and even the position of your pagination links on the page.
For example, you might want to change the color of your pagination links to match your brand's primary color. Or perhaps you'd like to move your pagination links to the center of the page for a cleaner, more balanced look.
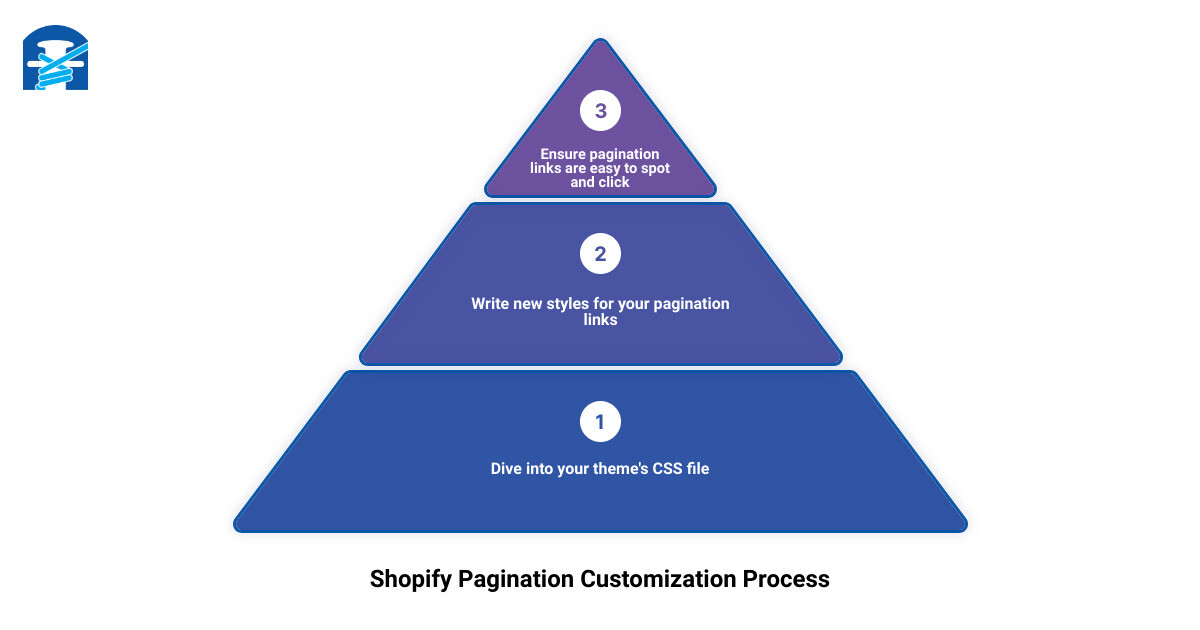
In the world of CSS, the possibilities are nearly endless. As you explore these possibilities, remember to keep usability in mind. Your pagination links should be easy to spot and click, regardless of the device your customers are using.
To make these changes, you'll need to dive into your theme's CSS file and write new styles for your pagination links. If you're unfamiliar with CSS, consider enlisting the help of a web developer or a Shopify expert.

Infographic showing the steps to customize pagination in Shopify with examples of overriding default labels and using CSS for further customization.
Overall, customizing your Shopify pagination is a powerful way to enhance the shopping experience, drive engagement, and ultimately increase sales. By taking the time to tailor this feature to your brand and your customers' needs, you can create a more seamless and enjoyable e-commerce experience. Up next, we'll discuss how to make your Shopify pagination accessible to all users, so stay tuned!
Making Shopify Pagination Accessible
Creating an accessible online store is not just a matter of compliance but also a way of ensuring that your products and services reach a wider range of customers. In the realm of e-commerce, accessibility is crucial for inclusivity, and at First Pier, we understand the importance of creating a shopping experience that everyone can enjoy. When it comes to Shopify pagination, a key aspect of this is making sure that sighted and non-sighted users alike can navigate through your online store with ease.
Using ARIA Attributes for Accessibility
ARIA, or Accessible Rich Internet Applications, offers a set of attributes that supplement HTML to make web content and applications more accessible to people with disabilities. By using ARIA attributes, we can make certain interactions, such as those commonly used in applications, easily voiced by assistive technologies, thus aiding the user experience.
In our Shopify pagination, we use ARIA roles and attributes. For instance, we've set the role attribute to 'navigation' in the main example, as shown here:
<nav role="navigation">
This helps assistive technologies understand the purpose of the element.
Additionally, we've ensured that elements like the arrows, « and », which are primarily useful to sighted users, aren't read aloud by screen readers. We've achieved this by adding the attribute aria-hidden set to true. This ensures that these elements are available to sighted users without negatively impacting the experience of someone using a screen reader.
<span aria-hidden="true">«</span>
Finally, we've also used the aria-current attribute set to page, to indicate to a screen reader that this is the active or current item within a set of related elements.
Best Practices for Accessible Pagination
At First Pier, we believe in the importance of building accessibility into everything we do from the start. This includes our themes and the components that make them up, such as pagination.
One best practice we've adopted is the use of the visuallyhidden class. This class is used to hide content that we don’t want seen visually in the browser, but that we still want to be available to screen readers and search engines. This ensures that screen readers read out "Previous page" and "Next page" or "Page one", and "Page two", when going through our pagination links, while what we display on the screen is simply "Previous", "Next", "1", "2", and so forth.

In our commitment to making your Shopify store fully accessible and screen reader friendly, we've ensured that all these elements combine to make this pagination fully accessible. Up next, we will dive into some advanced pagination techniques that can further enhance your Shopify store's user experience.
Advanced Pagination Techniques in Shopify
When it comes to creating a user-friendly e-commerce experience, understanding the basics is just the beginning. To truly master Shopify pagination, one must delve into the world of advanced pagination techniques. This is where we, at First Pier, excel in assisting our clients.
Using the Accessible-Pagination Code Example
As we've mentioned earlier, Shopify's own accessible pagination code example offers a comprehensive solution for those looking to create a more accessible and customizable pagination experience. This code example breaks down pagination into customizable parts, allowing for a high degree of customization in terms of design and functionality.
Whether you're looking to change the design of the pagination buttons or adjust the number of pages displayed, Shopify's accessible pagination example enables you to do all this and more. However, understanding and implementing this code requires a sound understanding of Shopify's Liquid language. If you're finding this process overwhelming, don't worry - our expert team at First Pier is here to help!
Pagination Components in the Polaris Library
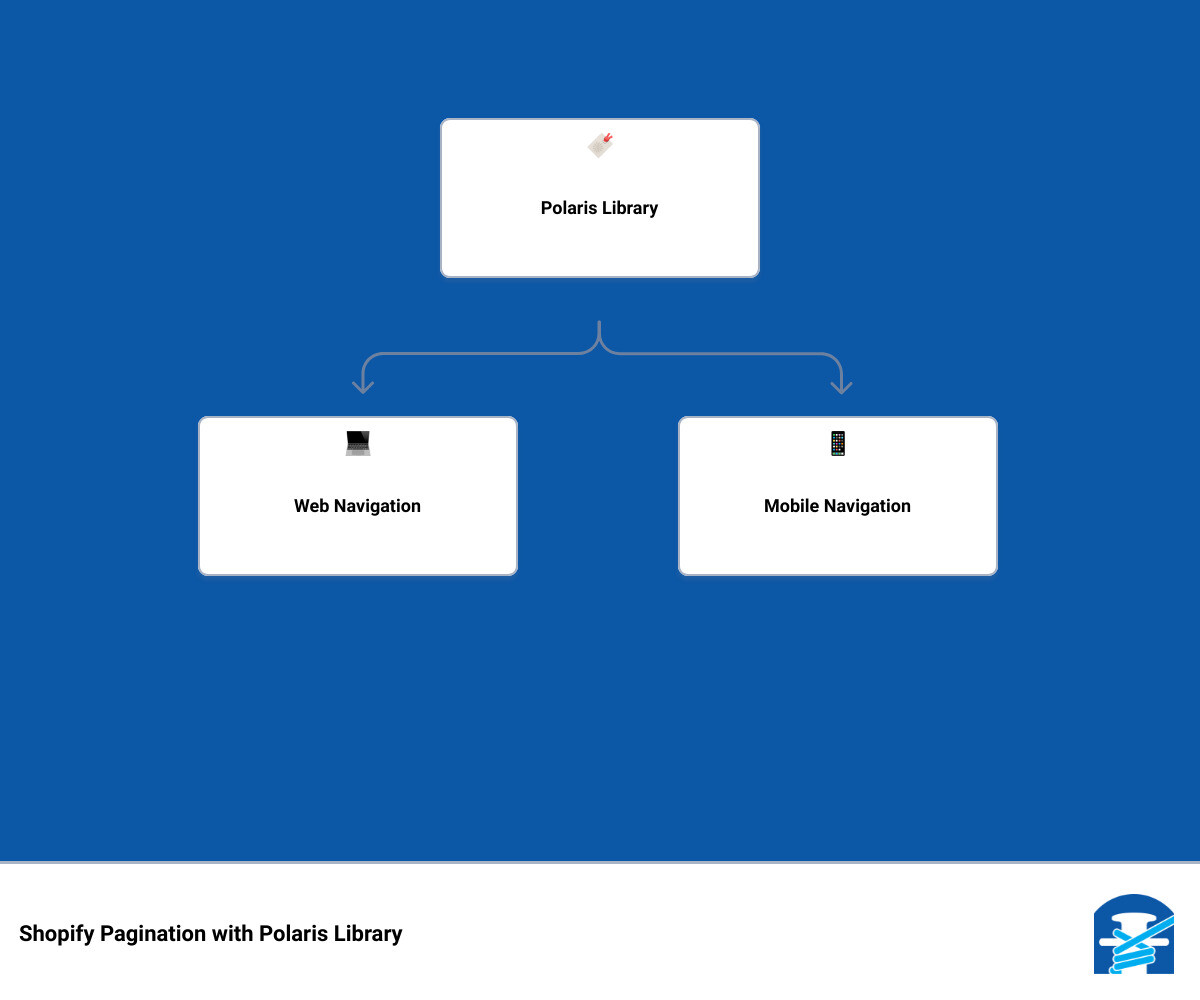
Another advanced technique involves using the pagination components from Shopify's own Polaris library. Designed to create an ordered and easily navigable collection of items, these components are particularly useful for large product catalogs split into multiple pages.
The Polaris library allows you to add functionalities such as keyboard shortcuts for next and previous buttons, tooltips, and even custom URL's for each page. You can also customize the accessibility labels for buttons and links, ensuring your pagination is fully accessible to all users.
One key feature of the Polaris library is its adaptability across platforms. It offers solutions for both web navigation, using buttons to move between pages, and mobile navigation, using infinite scrolling. This ensures a seamless user experience, regardless of the device your customers are using.

Using these advanced techniques, you can create a Shopify store that not only looks good but also delivers a user-friendly and accessible browsing experience. And remember, if you ever find yourself stuck or unsure, our team at First Pier is always ready to lend a helping hand.
In the next section, we'll tackle some of the common issues you might encounter when implementing Shopify pagination and provide solutions to resolve them efficiently. Stay tuned!
Troubleshooting Common Shopify Pagination Issues
As you endeavor to perfect your Shopify store’s pagination, there may be a few hurdles along the way. But worry not, at First Pier, we believe in turning challenges into opportunities for learning and growth. In the following section, we’ll address a couple of common issues you might encounter when setting up pagination in Shopify, and provide solutions to help you get back on track quickly.
Dealing with Pagination Limitations in Shopify
In Shopify, it's important to note that there are certain limitations when it comes to pagination. For instance, the maximum number of results that can be shown on a single page is 50. This is a default limit set by Shopify and can sometimes pose a challenge when you have a large collection of products.
One way to deal with this limitation is by fetching products in batches until all products have been retrieved. This technique involves storing the pageInfo data between requests using a session as specified in the Shopify documentation.
Also, a request that includes the page_info parameter can't include any other parameters, except for limit and fields (if they apply to the endpoint). If you need your results to be filtered by other parameters, then you need to include those parameters in the first request you make.
Resolving Shopify Pagination Not Working Issues
Occasionally, you may find that your Shopify pagination isn't working as expected. The most common error is when any request that sends the page parameter returns an error. This usually occurs when the link header URLs, which are temporary, are saved for later use. Shopify recommends using link header URLs only while working with the request that generated them.
Another common issue is when the pagination labels aren’t updated despite the override. This could be due to a syntax error in your code. Always ensure you have the correct syntax for overriding default pagination labels, for example {% paginate collection.products by 12 %}.
At First Pier, we advise thorough testing of your pagination setup to uncover any potential issues. If you're still experiencing difficulties, don't hesitate to reach out to us for assistance. We're always ready to help you overcome any challenges and ensure your Shopify store is running smoothly.
In conclusion, while Shopify pagination might present a few challenges, they are not insurmountable. A clear understanding of the platform’s limitations and potential issues, coupled with effective troubleshooting techniques, will ensure your customers enjoy a seamless shopping experience. Stay tuned for more Shopify tips and tricks from us at First Pier!
Conclusion: Streamlining Your E-commerce Experience with Effective Pagination
In the bustling world of e-commerce, every second and every click counts. It's all about offering an efficient and user-friendly experience to your customers. But how often do we consider the lesser-known hero of this seamless navigation? Yes, we're talking about pagination. By effectively implementing and customizing pagination in your Shopify store, you can significantly enhance your customers' shopping experience.
Shopify pagination, although not the flashiest aspect of your online store, plays a vital role in facilitating seamless user navigation. By dividing your store's content, be it products, blog articles, or search results, across multiple pages, you ensure your site loads faster, is more user-friendly, and provides a cohesive shopping experience.
However, setting up an effective pagination system in Shopify requires a keen understanding of Shopify's Liquid language and the use of specific tags. For instance, the 'paginate' tag needs to work in tandem with the 'for' tag to split content into multiple web pages. Remember, Shopify limits you to 50 results per page in any 'for' loop, and understanding how to navigate these limitations will set your store apart.
Customization is also a key factor in enhancing the user experience. Overriding default pagination labels and using CSS for visual customization can make your pagination system more engaging and intuitive. But it's not just about appearances - making your pagination accessible to all users is crucial. ARIA attributes and semantic markup are just some of the techniques you can employ to make your pagination system accessible to everyone.
In the end, it's all about creating a smooth and accessible shopping experience for your customers. Advanced pagination techniques, such as using the accessible-pagination code example and pagination components in the Polaris library, can help you achieve this.
Remember, the goal is not only to resolve common pagination issues but to preempt them. Knowing the potential pitfalls and how to navigate them will keep your Shopify store running smoothly.
At First Pier, we understand the intricacies of Shopify pagination and the role it plays in streamlining your e-commerce experience. Our experts are always on hand to help you navigate the complexities of Shopify theming and pagination.
In conclusion, mastering Shopify pagination is not just about improving your store's functionality - it's about enhancing the overall shopping experience for your customers. It's about making sure your customers can find what they're looking for with ease and efficiency. So, embrace the power of effective pagination and take your e-commerce experience to the next level.

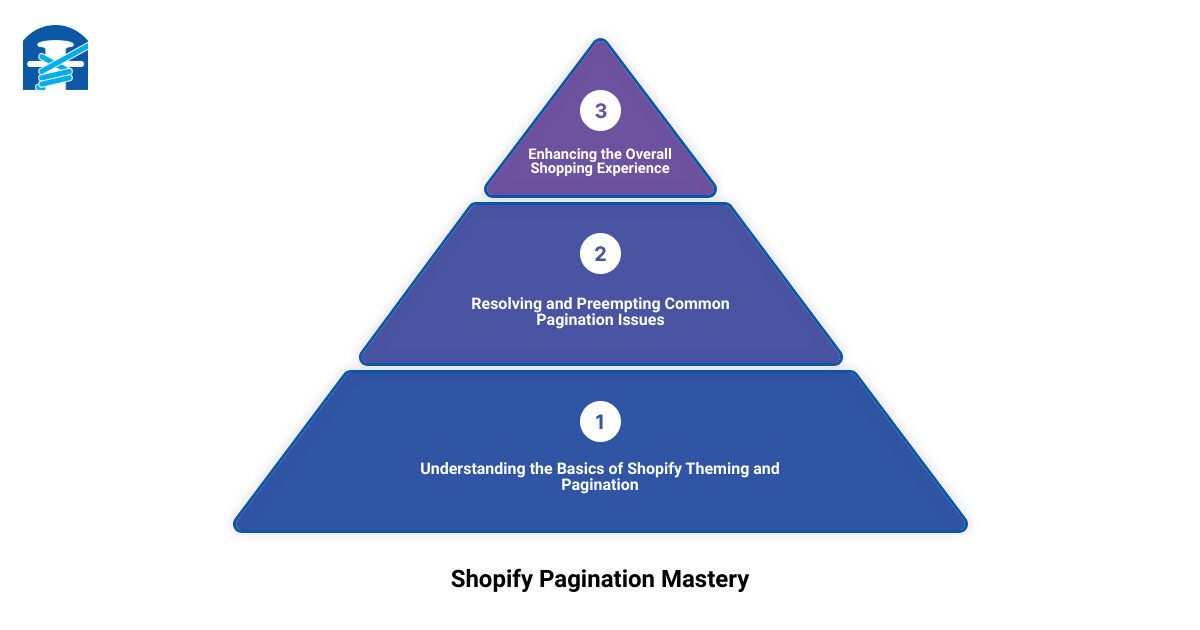
Infographic: A step-by-step guide to setting up, customizing, and troubleshooting Shopify pagination for a streamlined e-commerce experience.


.png)
.png)
