Why Your Website Needs Optimised Images
Optimised images are compressed, properly formatted, and sized pictures that load quickly while still looking good. Here's a quick checklist:
- Choose the right format: JPEG for photos, PNG for graphics with transparency, WebP for best compression.
- Compress your files: Reduce file size by 60-80% without visible quality loss.
- Resize to display dimensions: Don't upload 3000px images for 300px display spaces.
- Use lazy loading: Load images only when users scroll to them.
- Use a CDN: Serve images from servers closest to your visitors.
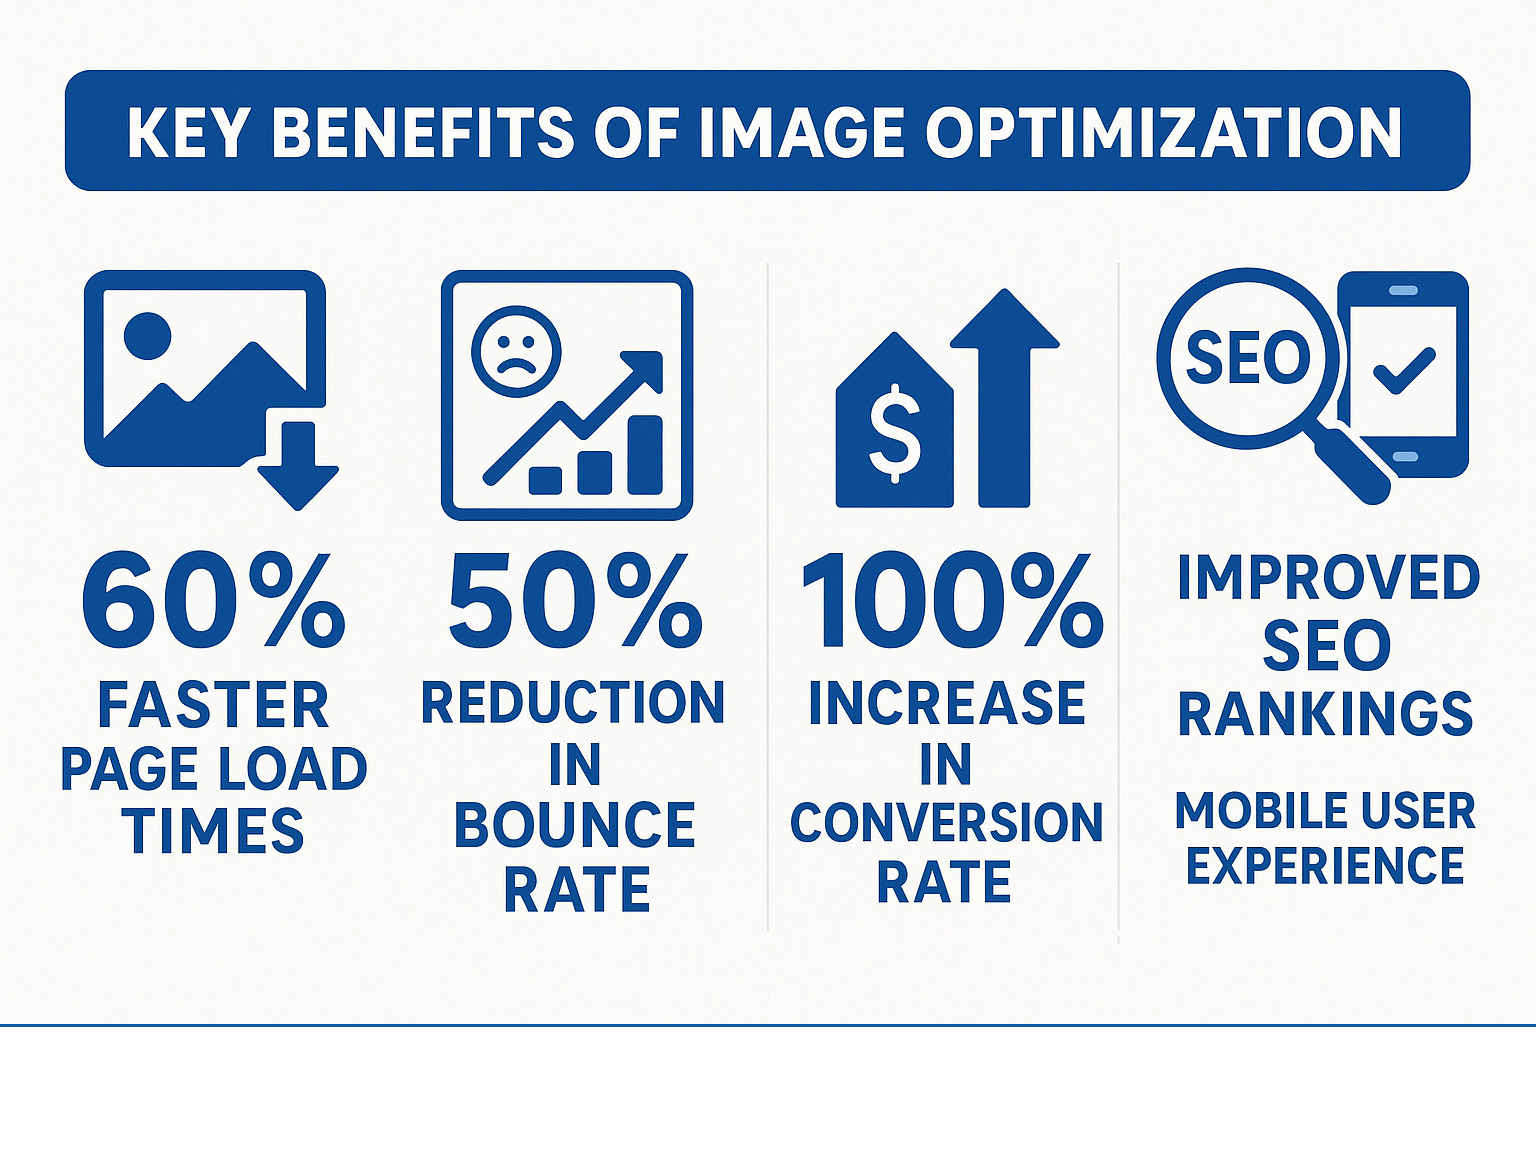
The numbers are clear: a one-second delay in page load can cut conversions by 7%, and 40% of visitors will abandon a site that takes more than three seconds to load. The hidden cost of slow images goes beyond lost sales, hurting your site's reliability, SEO rankings, and mobile user experience.
Image optimization can improve page load times by 60% and significantly reduce bounce rates. Modern formats like WebP can shrink file sizes by 30% over JPEGs, while tools can compress images by up to 80% without sacrificing quality. This isn't just about technical performance—it's about creating the smooth, professional experience your customers expect.
I'm Steve Pogson, and after two decades of helping businesses scale, I've seen optimised images transform websites. At First Pier, we've helped brands like Wyman's Blueberries and Hyperlite Mountain Gear achieve lightning-fast load times that directly impact their bottom line.

Glossary for optimised images:
Why Image Optimization is a Game-Changer for Your Website
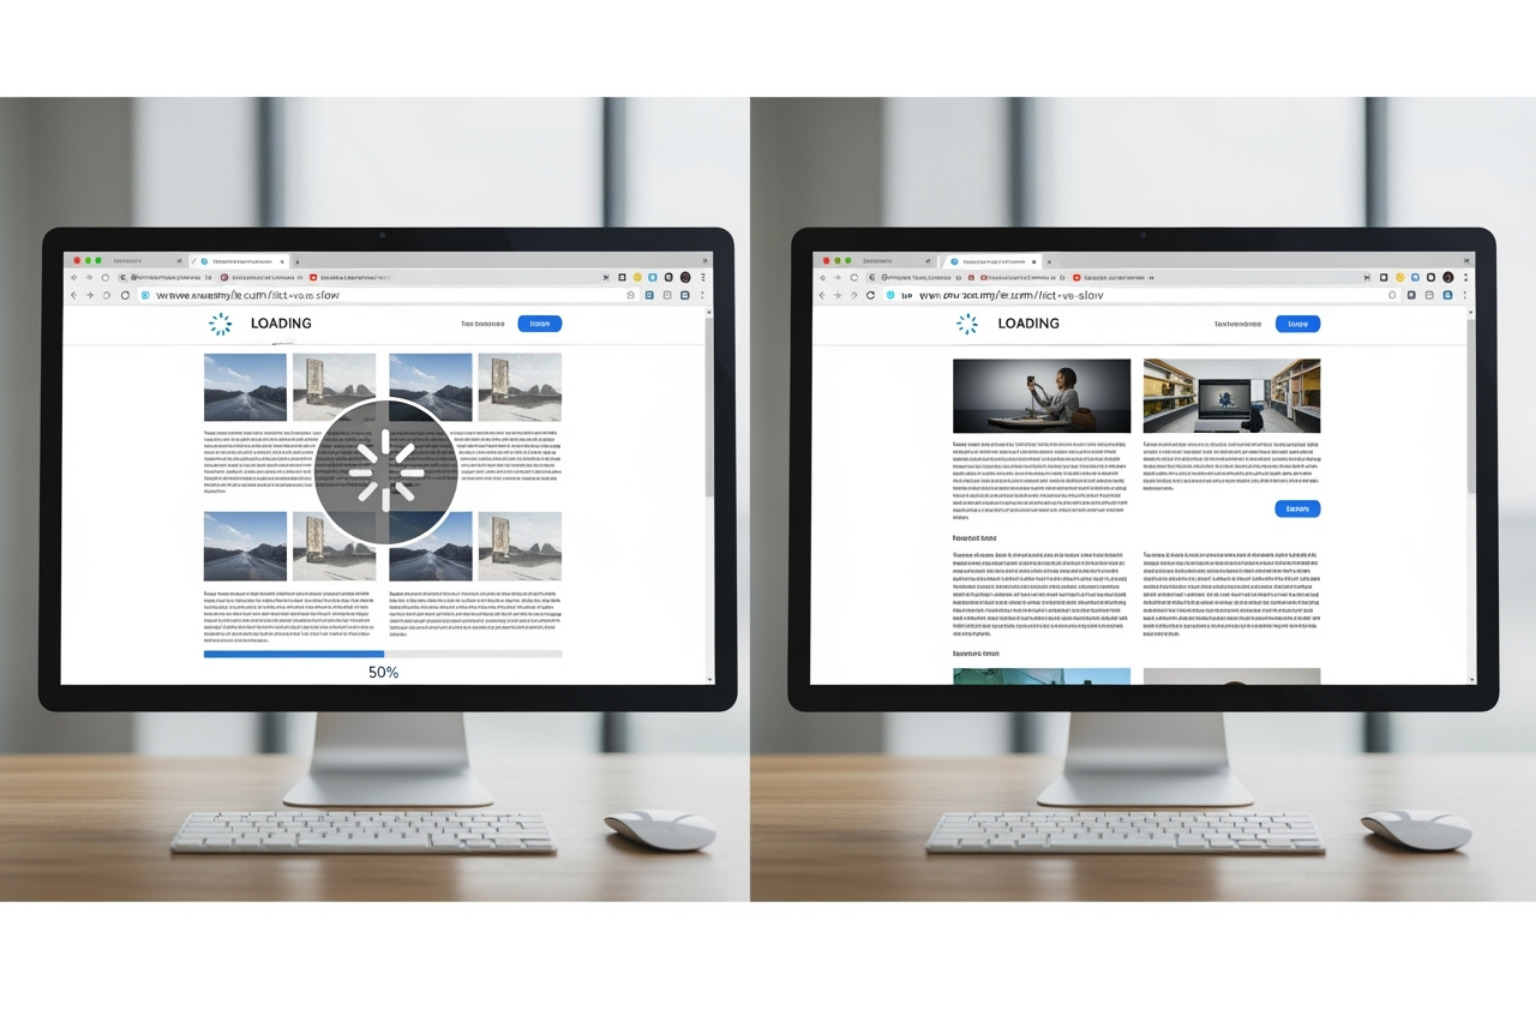
When your website loads in under two seconds, visitors stay longer, explore more, and complete their purchases. This is what optimised images can do for your business.
I've watched countless online stores improve their performance simply by fixing their image problems. Everything flows better, customers are happier, and sales climb. The data backs this up: a one-second delay can hurt conversions by 7%. For a high-volume store, that's thousands in lost revenue daily.
Beyond speed, optimised images improve user engagement, reduce bounce rates, and create a smooth mobile experience. They're also crucial for SEO-optimized web design, helping your site rank better in search results.
The real cost of slow images
When a customer clicks on a product and the page just loads, they won't wait long. In fact, 40% of visitors abandon a site that takes more than three seconds to load. Large, unoptimized images are often the biggest culprit, sometimes accounting for 50% of total page load time.
This leads to high bounce rates, which signal a poor user experience. Slow images don't just frustrate people; they make your business look unprofessional. Mobile users, often on slower connections, are hit the hardest, which is a major problem since they make up the majority of web traffic.
How optimised images improve your SEO
Google has made it clear since 2010: page speed affects your search rankings. Fast-loading images get noticed by Google, while slow ones can let competitors outrank you.
Google's Core Web Vitals make this even more important. These metrics measure user experience, and Largest Contentful Paint (LCP)—which tracks when your main content loads—is directly affected by image size. Better Shopify Core Web Vitals scores mean better rankings.
Another often-missed SEO benefit is image search traffic. Optimizing your images with descriptive alt text opens a new channel for customers to find you. With the right Alt Text Shopify setup, you can bring in a lot of traffic from people searching visually.
Optimized images with descriptive filenames and alt text also help search engines understand your content, improving your overall SEO. This creates a positive cycle: faster images lead to better user experience, which leads to better SEO, more traffic, and more conversions.
Core Techniques for Creating Optimised Images
Creating optimised images is about balancing how good an image looks with how fast it loads. It's not just about making images smaller; it's about making smart choices throughout the process.
Choosing the right image format
Each image format has a specific job. Choosing the right one is key to a fast website.
| Format | Best Use Cases | File Size | Transparency | Animation | Browser Support |
|---|---|---|---|---|---|
| JPEG | Photographs, complex images with many colors and gradients. | Small to Medium | No | No | Excellent |
| PNG | Logos, graphics with transparency, images with fewer colors, screenshots. | Medium to Large | Yes | APNG (limited) | Excellent |
| WebP | All-around excellent for web images, photos, and graphics. | Very Small | Yes | Yes | Good & Growing |
| AVIF | Next-gen format for highest compression and quality. | Extremely Small | Yes | Yes | Growing |
- JPEG: The workhorse for photographs. Its "lossy" compression smartly reduces file size by removing data you won't notice is gone.
- PNG: Best for graphics needing transparency, like logos. It uses "lossless" compression, which keeps the quality perfect but results in larger files.
- WebP: A modern, versatile format from Google that can reduce file sizes by up to 30% compared to JPEGs without losing quality. It supports transparency and animation, making it a great all-around choice. You can learn more about the WebP format.
- AVIF: A next-gen format offering even better compression than WebP, though browser support is still growing.
My recommendation? Start with WebP for most images to get the best balance of performance and compatibility.
Compressing images: Lossy vs. Lossless
Compression is where the magic happens. There are two main types:
- Lossy compression permanently removes some image data to drastically reduce file size. For most photos, the quality difference is unnoticeable, but the speed improvement is huge. It's great for hero images and product shots where performance is a priority.
- Lossless compression reduces file size without losing any data, ensuring the image is pixel-perfect. This is crucial for logos or detailed graphics where precision matters. For e-commerce product photography, light lossy or lossless compression is often best to keep the detail.
Match the compression type to the image's role. A background image can be compressed aggressively, while a main product photo needs gentler treatment.
Resizing images for the web
Uploading a 3000-pixel image for a 300-pixel display space is a common mistake that kills performance. Resize your images to match their display size on your website. This simple step can cut loading times dramatically.
For modern high-DPI (Retina) displays, use the srcset attribute. This lets you provide several image sizes (e.g., 800px, 1200px, 1600px). The browser then automatically selects the best version for the user's screen, making sure high-end devices get a crisp image without forcing others to download large files. It's one of the most effective ways to create optimised images for all devices.

Advanced Ways to Speed Up Image Delivery
Beyond basic compression and sizing, advanced techniques can make your site feel even faster. These methods focus on when and how optimised images are delivered to visitors. They're a big part of how we improve Shopify site speed for our clients.
What is lazy loading?
Lazy loading is a simple but powerful trick: instead of loading every image on a page at once, images only load as they're about to scroll into view. This is especially effective for long pages with many photos.
The benefits are impressive. Your initial page load is much faster, which saves data for mobile users and can reduce bounce rates. From an SEO perspective, lazy loading improves Core Web Vitals like Largest Contentful Paint, which can boost search rankings. Most modern platforms like Shopify have lazy loading built-in, but it's worth checking that it's set up correctly. We always make sure Lazy Loading Shopify is working properly for our clients to get these performance gains.
Using a Content Delivery Network (CDN)
To ensure your optimised images load quickly for customers worldwide, a Content Delivery Network (CDN) is essential. A CDN stores copies of your images on servers across the globe. When a customer visits your site, images are delivered from the server closest to them, dramatically reducing load times.
CDNs also improve reliability. If one server has an issue, another takes over. They also use caching, temporarily storing images to reduce the load on your main server and keep your site responsive during traffic spikes.
Shopify has a built-in CDN, which is a major advantage. For businesses with specific needs, we often explore additional options like Shopify Cloudflare to further improve image delivery. If you have a global audience, a CDN is a must-have for delivering images at the speed modern customers expect.
Tools, Automation, and Measuring Success
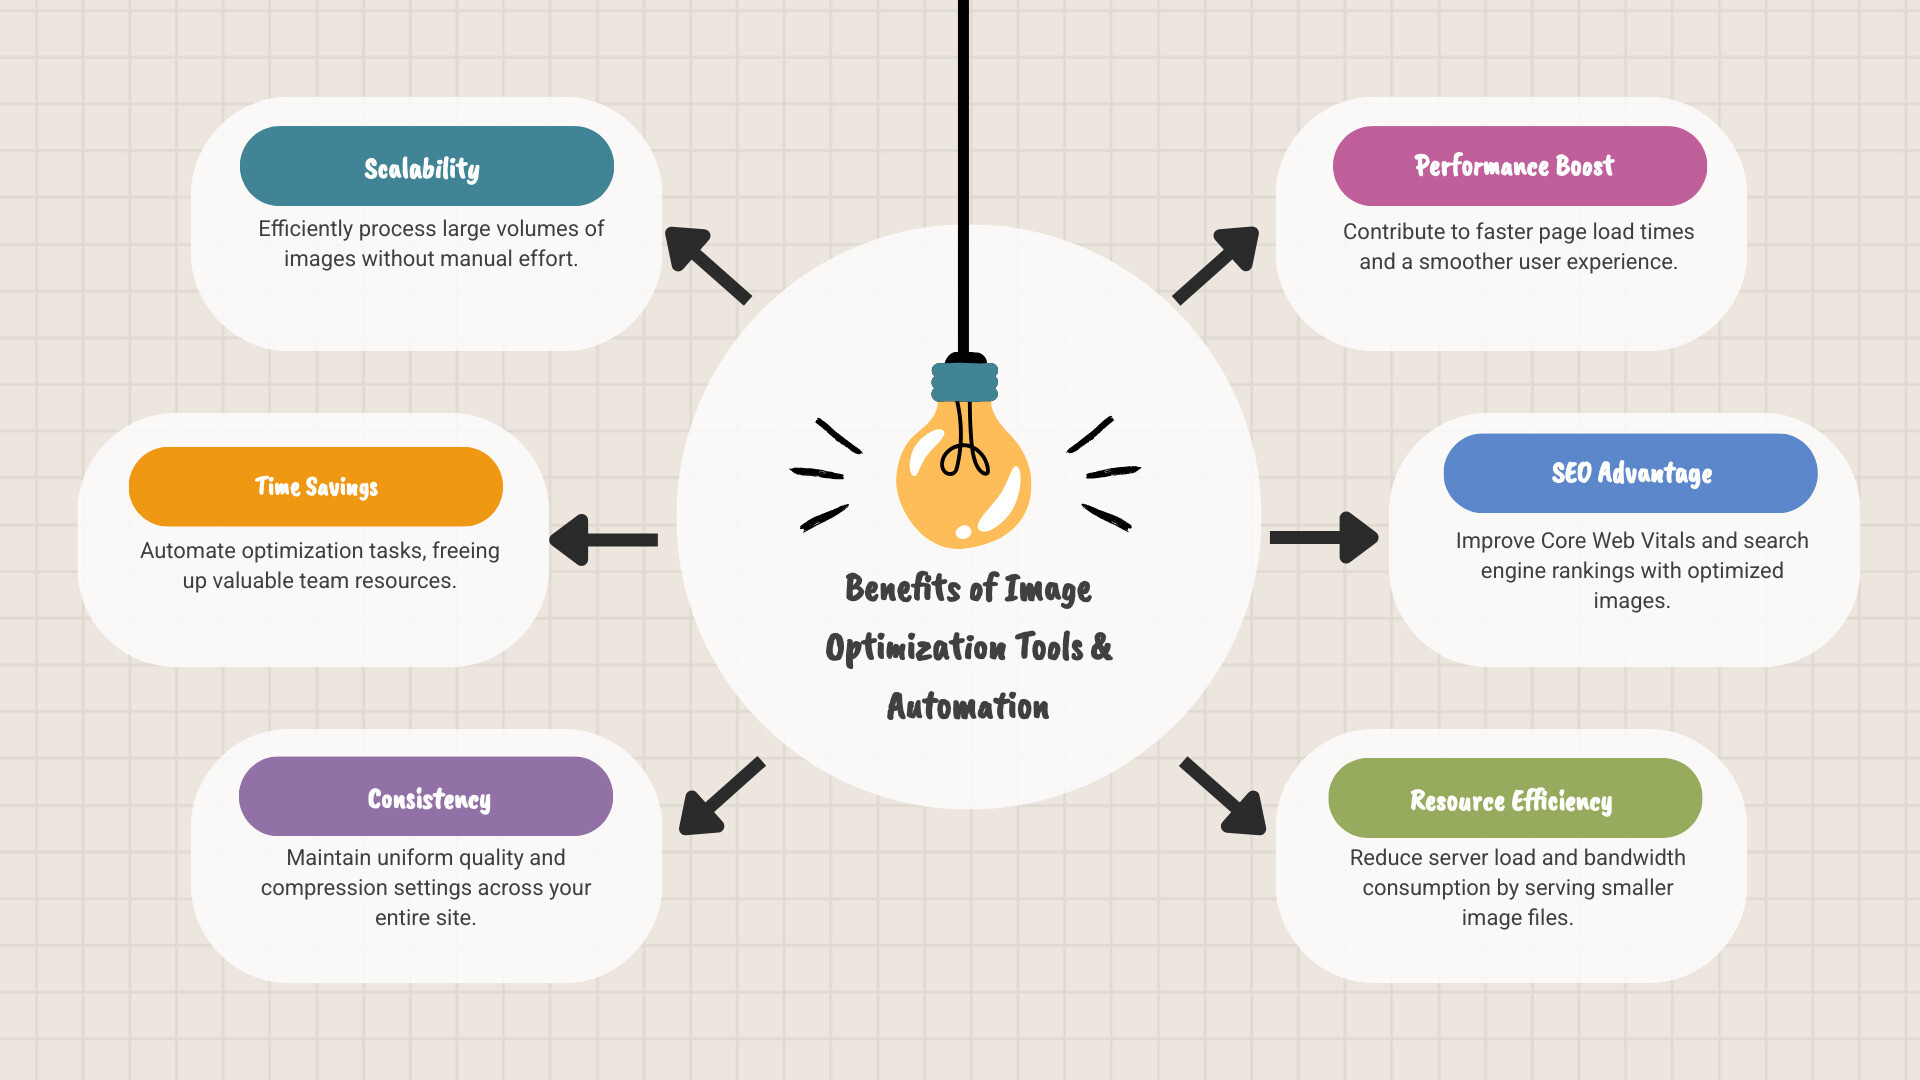
Manually optimizing every image isn't practical as your site grows. The secret is building an automated system that creates optimised images consistently.

The best tools for image optimization
Fantastic tools are available to handle the heavy lifting of creating optimised images.
- Online tools like TinyPNG are great for quick, one-off optimizations. You drag and drop your images and get compressed versions in seconds. Just be sure to check the privacy policy if you're uploading sensitive images.
- Desktop software offers more control, works offline, and is ideal for batch processing sensitive images, though it often comes at a cost.
- Plugins and apps for platforms like Shopify are often the best solution. They fit into your workflow, automatically optimizing images on upload and often adding features like lazy loading and CDN support.
When choosing a tool, look for support for modern formats (WebP, AVIF), adjustable compression levels, resizing options, and automation features.
How to automate the process
Automating image optimization saves hours of manual work and ensures every image on your site is consistently fast. This prevents someone from accidentally uploading a huge file that slows down your entire homepage.
For most e-commerce platforms, plugins and apps are the easiest way to start. They can bulk optimize your existing library and then handle all new uploads automatically. For more control, API integration can build optimization directly into a custom development workflow.
However, watch out for over-compression, which can hurt image quality, and possible conflicts with themes or other plugins. Always test and spot-check your images.
This organized approach is a key part of Shopify performance optimization.
Best practices for getting optimised images on Shopify
Shopify makes it easy to deliver optimised images, but a few strategies can get you the best results.
- Use Shopify Apps: The App Store has excellent optimization apps that handle compression, WebP conversion, and lazy loading seamlessly.
- Choose a Performance-Focused Theme: Modern themes like Dawn are built for speed, with features like responsive images and lazy loading built-in.
- Activate the Built-in CDN: Ensure Shopify's powerful CDN is activated in your settings to speed up image delivery for global customers.
- Fit It Into Your Workflow: Start with well-sized images from your product photography for Shopify process to get the best results from your optimization tools.
How to measure your success
How do you know your work is paying off? Track these key metrics:
- Page Load Time: Use tools like Google PageSpeed Insights to measure before-and-after speeds. Aim for under three seconds, ideally under two for e-commerce.
- Largest Contentful Paint (LCP): This Core Web Vital is directly affected by your main hero image. Improving it can boost your Google rankings.
- Bounce Rate & Conversion Rate: These are the metrics that matter most to your business. Faster pages lead to lower bounce rates and higher conversions. I've seen conversion rates double after proper image optimization.
Regular A/B testing of compression levels or formats can also help you find what works best for your specific audience.
To Sum Up: Your Next Steps for Faster Images
To sum up, optimised images are crucial for creating a faster, more engaging experience that turns visitors into customers. Every second you shave off your load time is money in your pocket.
Here are your next steps:
- Check your site: Use Google PageSpeed Insights to see where you stand.
- Choose the right format: Use WebP where possible, with JPEGs for photos and PNGs for graphics with transparency.
- Compress and resize: Use smart compression and resize images to their display dimensions.
- Speed up delivery: Use lazy loading and set up a CDN.
- Automate everything: Use apps or plugins to handle optimization automatically.
- Measure your progress: Track page load time, bounce rate, and conversion rate to see the impact.
A fast website shows respect for your customers' time and builds trust in your brand. If this feels overwhelming, you don't have to go it alone. The team at First Pier offers specialized Shopify page speed optimization services to make sure your site performs at its best. We're based in Portland, Maine, and we live and breathe e-commerce optimization. Let us help you turn your website into the conversion machine it was meant to be.


.png)
.png)
